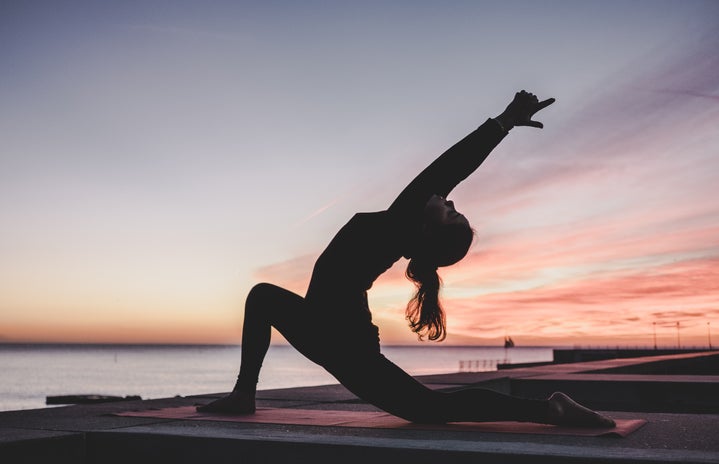
Sun Salutation (Surya Namaskaram) is a series of twelve positions that serves as a tonic for the body. It warms it, providing ha—sun energy—to the body and limbers it. Below are twelve steps for a beginner level Surya Namaskaram practice. In the next article, I will be outlining the steps of Chandra Namaskaram (Moon Salutation), which cultivates tha—moon energy to the body and which is a more calming and restorative practice.
In preparation for Surya Namaskaram, come to the front of your mat. Bring your toes hip distance apart, or together (whatever is comfortable for you). Shift your weight forward towards your toes, then backwards. Continue this until you find your arches lifted and grounded, and your weight evenly distributed.
Bring your awareness to your ankles, shift your weight so that they are directly below your knees; noting that your knees are not hyper-extending. Now bring awareness to your hips and pelvis, finding them aligned, with equal weight distribution. Utilizing the energy of the earth to root your toes, feel your lower extremities working towards lifting you. Use this upward energy to open your shoulders and chest, bring your arms alongside your body, palms facing upwards, and lift your chin. Visualize this energy as a string pulling you up from your toes, and holding you erect from the crown of your head.
Take a few moments to feel your body in complete alignment. This is tadasana, mountain pose. Practicing this pose fosters proper alignment and healthy posture. It is also the foundational pose of all standing asanas.
Now, you are ready to begin Surya Namaskaram. (I will instruct only one round, but I recommend practicing at least two repetitions, altering leg and arm positions).
Position One:
Bring your palms together at heart center.
Position Two:
Extend your arms out and then up alongside your ears.
Position Three:
Arch back, from just below your shoulder blades, and then hinge forward from your hips into a standing forward fold. If your hamstrings are tight, feel free to bend your knees, as uthanasana, is a position of complete release.
Position Four:
Bring your fingertips alongside your toes, stepping your left leg back, lowering your back knee and your pelvis towards the mat. Keep your front knee bent, ensuring your knee is directly above your ankle, bringing you to a lunge position. If you are feeling comfortable, lift your back knee off your mat, and raise your arms alongside your ears. Remember to listen to your body, do not strain yourself, find yourself in a place of steadiness and ease.
Position Five:
Lower your arms and place your fingertips along-side your toes, and lower your back knee if raised. Step your front leg backwards to meet your back foot, and imagine a string lifting your tailbone towards the ceiling, bringing your body to an Inverted-V shape. This is a brief adhomukha svanasana– downward facing dog.
Position Six:
Shift your weight forward, coming into a preparatory plank position. Lower your knees, and then your chest, and then your chin to the mat, creating a space between your abdomen and the mat.
Position Seven:
Using the stability of your toes, shift your weight forward, lift your head, and open your chest, coming into a baby cobra. If you choose to hold this position longer, bring your awareness to your elbows, drawing them in closer to your chest. Imagine your shoulder blades are trying to hold a coin.
Position Eight:
Press into your hands and toes and lift your tailbone back into an Inverted-V shape.
Position Nine:
Step your left leg forward, and return to lunge position. Here you may choose to do the variation or remain closer to the mat. Whatever you choose, bring awareness to your shoulders to find them lowered and to your chest finding it open.
Position Ten:
Step your back leg forward, and come into a standing forward fold.
Position Eleven:
Bring your arms alongside your ears, and hinge up into a standing position. Arch back slightly from below your shoulder-blades.
Position Twelve:
Bring your palms back together at heart center.
You have completed one round of sun-salutation, take a moment to observe your breath, the blood flowing through your body and perhaps your heart beat increasing. Carry this warmth and energy with you throughout the rest of your practice, whether that be faster and repeated rounds of sun-salutation or other asanas.
Pictures from:

