With summer right around the corner, many of us are breaking out our shorts, tank tops, and bikinis. This is the time when people try to get a tan after months of wearing pants and jackets. Although many people try to achieve this by spending more time in the sun, this can be harmful to your skin and lead to sunburns, and even skin cancer further down the line. Spray tans are a much safer process than suntans and, especially, tanning beds. However, the downside of spray tans is that they do not last a very long time and are not exactly cheap. If you want to learn how to get the look of a spray tan in an easy process that can be done from your own home, keep reading!
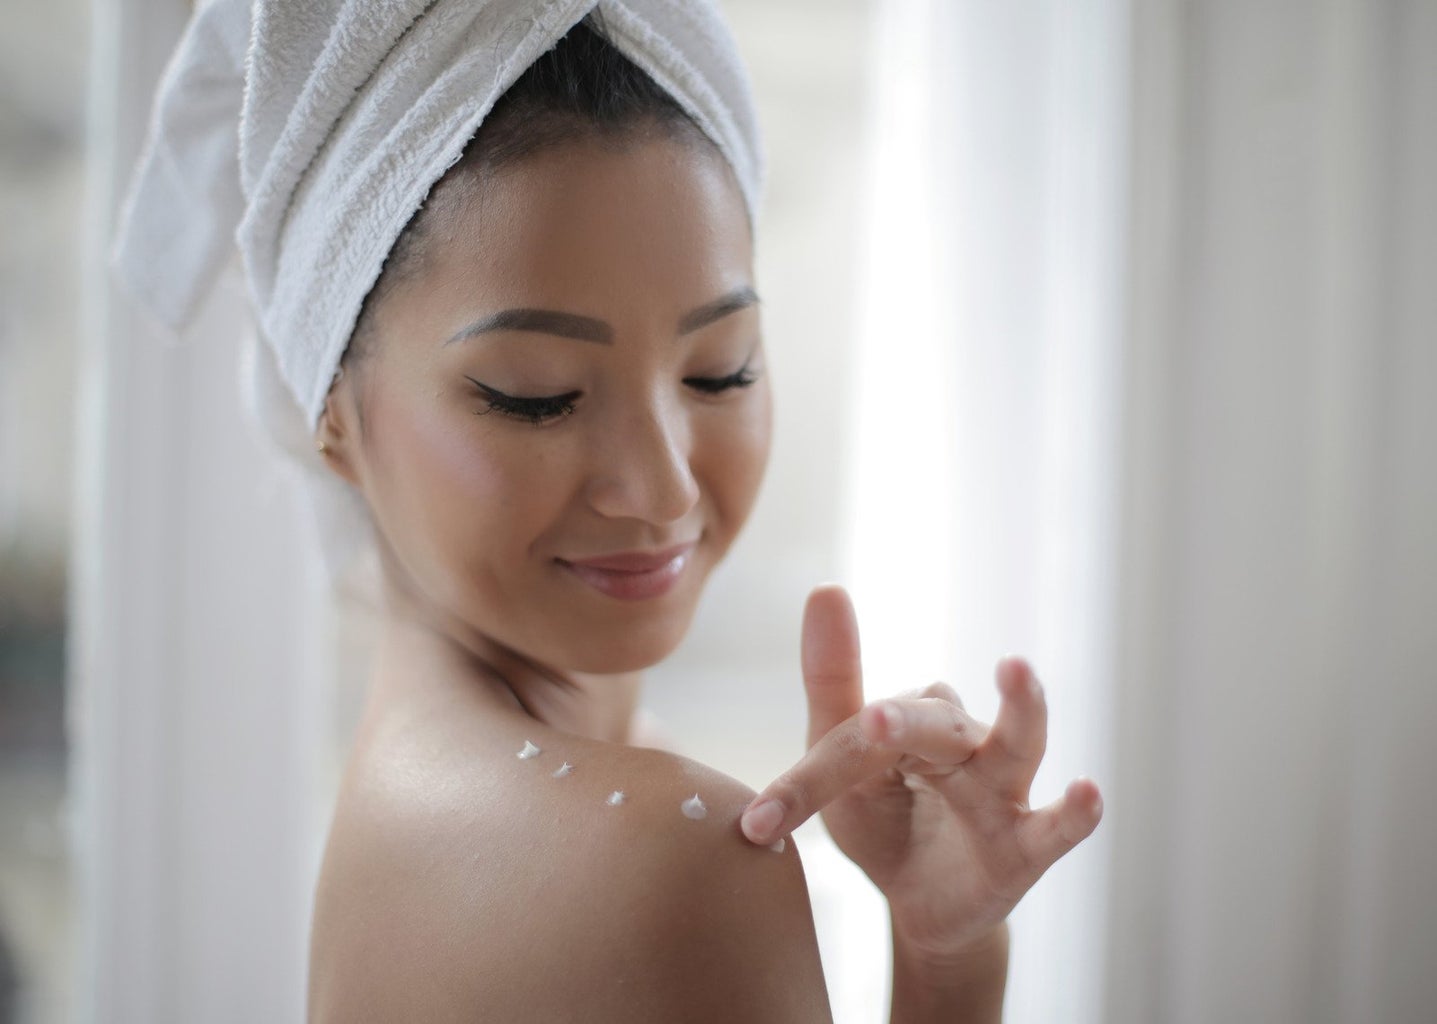
Before you give yourself a tan, it is super important to make sure you prep your skin correctly! This makes sure that your tan application is even and will last as long as possible. It is best to do your self-tanning routine after you shower, exfoliate, and shave. Exfoliating and shaving get rid of dead skin and body hair to ensure your skin is as smooth as possible for your tan. If you do these steps after you tan, the color will rub off and start to look patchy. I usually use a gentle body wash in the shower (I’ve been loving the ones from Method), then I exfoliate my entire body using a sugar scrub (Tree Hut is my favorite brand; however, the scrub from Fenty is amazing as well). After exfoliating your body, shave whatever body parts you normally shave. I usually shave my lower legs and underarms in the shower, and then I use an electric razor on my forearms after the shower. Once you are out of the shower, remember to moisturize with lotion because self-tan does not stick well to dry skin.
After moisturizing, you are ready to tan! There are many products you can use to achieve a glowy, sun-kissed look at a relatively low cost. I personally use the Tanologist Express Self Tan Water along with Tanologist Tanning Drops, but there are lots of other brands that you can choose from as well. I like these bottles because they last for a long time. A $20ish bottle of tanning water has lasted me six months, so it’s cheaper than getting a spray tan every week and it saves you a trip to the salon. I also personally love self-tanning water versus a mousse because the water is clear and does not transfer at all.
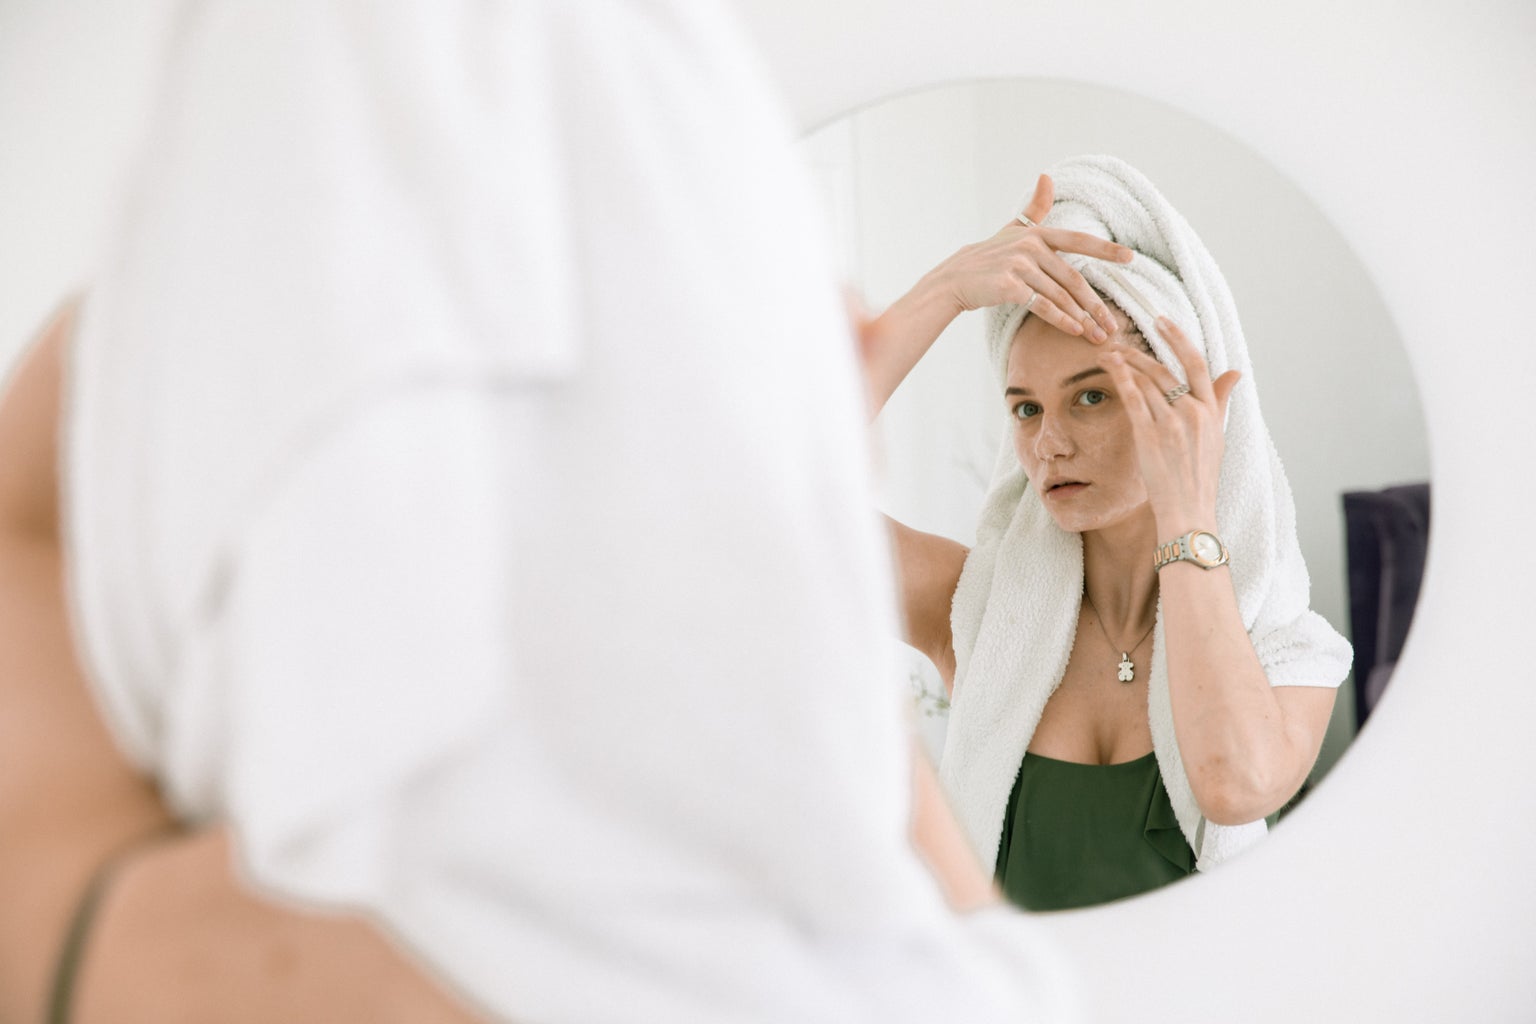
Self-tanning is not difficult, but it requires a little bit of trial and error to nail down your process. Personally, what works best for me is doing my face, then the rest of my body. To get started, I lay down a towel in the bathroom, and I gather all of my supplies. I use my tanning water, my tanning drops, a tanning mitt (Amazon sells these), and my face moisturizer. I put a few pumps of moisturizer in my hand and then I add a drop or two of the tanning drops, you really do not need a lot for it to be effective. Then with my other finger, I mix the drops into the moisturizer and apply it evenly to my face. Make sure it covers everywhere otherwise you will have pale patches on your face. I also like to do this to my neck and all around my ears too so that the color of my skin looks the same everywhere.
After you have applied this mixture to your face, wash your hands thoroughly. When I leave the tanning water on the palms of my hands, they always look red to me after. Then you can get started on your body. Spray the tanning water either on your skin or onto the tanning mitt and rub it into your skin. Make sure, once again, that you are covering everything because you do not want to miss a spot. It can be difficult to tell if you are getting every part because the water is clear, but it just requires a little focus. I usually do my legs first and then work my way up from there. Areas to be especially careful about are your knees, feet, underarms, elbows, and back. With my back, I reach what I can, and then I put a hairbrush in my mitt to help it reach further. You can also have someone help you if you wish. The key is to cover everything and make sure you are blending what you did on your neck with what you are doing on your chest and arms. If you think you missed something, do not be afraid to go over it again. I always do my hands as the last step once everything else is done.
Once you have applied the tanning water all over your body, wait for at least four hours to wash it off. After four hours, I really start to notice the difference. Many people sleep with the tan on and wash it off in the morning. It is clear and does not transfer, so you can get dressed immediately after and it does not ruin your bedding. One thing about Tanologist is that it has a distinct sunscreen-like smell, so I usually wash my sheets after I sleep in my tan. I personally do not sleep with the tan on my face. It has never caused a breakout for me and I have incredibly acne-prone skin, but it is not ideal to sleep with the tan on your face. I do, however, sleep with it on my body all the time. When you wash the tan off, do not exfoliate with a scrub or loofah because it will look patchy.
If you follow all of these steps, you should end up with skin that looks like you spend all your time at the beach- without the harmful effects of overexposure to sunlight or tanning beds! My tans usually last about a week and they fade gradually. Just remember to stay moisturized and be gentle with the tan in the shower. Happy tanning!
