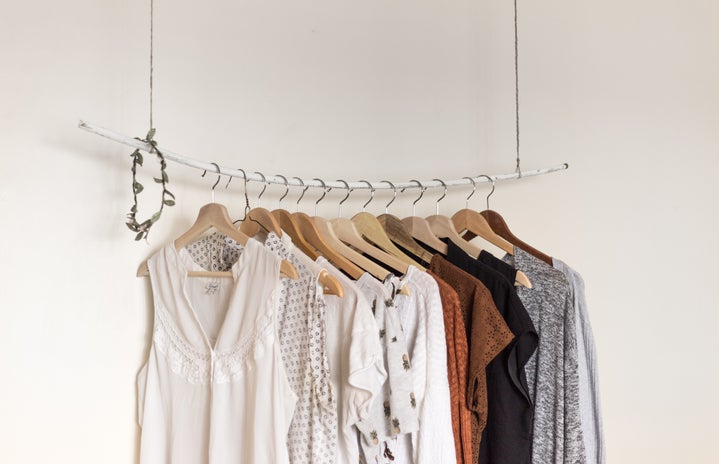
There’s a lot of talk about sustainability in the fashion industry, namely surrounding the practice of thrifting and buying clothes from sustainable companies. Slow fashion proponents argue the merits of buying clothes that are made to last over clothes that are made to fall apart (i.e. fast fashion), and they’re right. It is better to buy clothes that last, even though they’re more expensive. The higher cost incentivizes customers to buy fewer things less frequently, and you don’t have to worry about that one knit top you love falling apart after its third wash. But if buying new clothes isn’t necessarily your goal, there are other ways to preserve your current wardrobe, making your own alterations being one of them.
You may not be a seamstress, but there’s no reason you can’t alter or mend your own clothes. Over the years, I’ve picked up a few key skills when it comes to mending clothes. My practice came from fixing clothes that didn’t fit me correctly, had rips or holes, and that didn’t fit in the way I wanted. I’ve bought many dresses that had a less than perfect hem or were too loose in the bust, or just swallowed me whole. After various disappointing try-ons in stores, I realized that I didn’t actually have to be disappointed. If I could find a way to make a discreet alteration, I did it. It makes shopping, especially in thrift stores, much easier and the pool of possibilities is much deeper. I also like having this skill when my clothes rip, a button falls off, or a zipper breaks. Being able to fix my own clothes allows me to keep my favorite pieces in rotation and my purse strings tighter. It can also be a fun and inexpensive way to spice up your wardrobe. You can easily change something about the clothes you haven’t worn in a while so that they become something that you enjoy rather than something that takes up space.
I’m trying to make DIY alterations sound simple, but they are daunting. It’s hard to pick up a needle and just start sewing when you aren’t sure of what you’re doing and don’t want to mess up this piece of clothing you love so dearly. Luckily I have some tips and a general process for you that might make this much easier.
First, you’ll want to try on the garment so you can mark your new lines. If you want to hem something, you can roll the bottom, draw a line, or use pins to mark the line you want to cut and then sew. This helps keep your lines straighter and more professional. I would suggest trying it on and sewing it inside out. This keeps the stitches hidden so you won’t have to worry about how even they are. If you’re taking in a dress or top, this is especially helpful and it won’t be apparent that you even made any changes, which is the look we’re going for. Just grab the loose fabric where you want it to be tighter and mark where you want to sew.
Once you’ve marked your new lines, it’s time to start sewing. I’m assuming that if you’re reading this, you’re not a confident seamstress so it’s okay to just take it slow. Always follow your lines and make sure the fabric doesn’t bunch up in places it shouldn’t. If you’re taking in the garment, be sure to follow the existing stitches. Don’t sew in random places. It’ll create new lines that you may not want to be visible. If it has stitches down the side, take in the fabric there where you marked it. If it has darts (stitching in the bust area) and you want it to be tighter in that area, sew along the darts.
Always try on the garment (not inside out) after you’ve sewn it. Sometimes a hem may be a little uneven or you’ll notice some flaw in the stitching. Make note of whatever you want to fix and figure out the best way for you to do that. It doesn’t have to be a specific technique but it should be logical to you. If nothing is wrong, just make sure your stitching is secure and get ready to wear your newly altered clothes!
Even the smallest alteration can make a piece fit and look better so there’s no harm in trying. If it’s not something that you’ve cut up or taken apart, thread can be removed on the chance your methods aren’t working. Fortunately, tutorials for specific alterations are aplenty on YouTube; if you’re stuck or scared of starting, I’d highly recommend watching a few to see it done. After you make your first few alterations, you’ll gain the confidence to do more and you’ll be saving money and appreciating your wardrobe more because of it!


