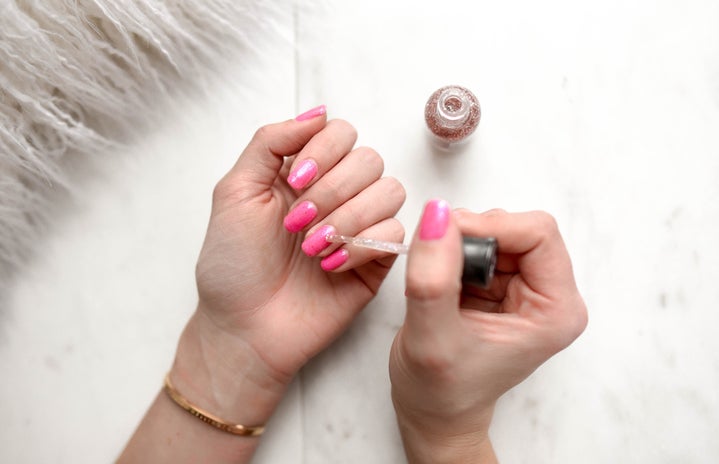
I used to not care about my nails. If anything, they were an afterthought in my beauty routine. It’s not that I don’t enjoy having a nice, fresh manicure every week, I just can’t afford it on a broke, college-student budget. Especially if the manicure or pedicure I paid so much for happens to chip after a couple of days.
After listening to my nail woes for years, my mom decided I would become my own nail artist. For Christmas, I found a new ultraviolet (UV) gel lamp under the tree with a set of gel nail polish. At first, I was very hesitant. After all, there’s a reason nail technicians are so phenomenal at their jobs: they have the training and crafted their skills to a tee. How could I, someone who can barely do winged eyeliner, become proficient at doing a gel manicure?
The process definitely wasn’t easy, and I am still honing my skills, but I can comfortably say I have picked up a few tricks along the way. As a disclaimer, I am not a professional, and safety precautions should be taken while using the UV gel lamp. However, here are some tricks I wish I had known before starting my gel manicure journey:
- It’s all in the prep work
-
Previously, I had thought that the bubbles forming in the nail polish were because it was cheap; however, it was actually because I was being sloppy with my nail preparation. Your nail is the foundation for each layer of polish. If there is even one little speck on it before the first application of the base coat, you can create bubbles on your entire manicure. Therefore, you must start with a nail that is completely polish-free and freshly cleaned.
- Push those cuticles back, baby!
-
Those pesky cuticles can lead to your gel manicure peeling off in no time. I couldn’t initially pinpoint the exact reason my manicure wasn’t lasting two weeks like the box said it would until I did some research. Neglecting to push back your cuticles before the application can give your manicure something to adhere to rather than your nail surface, causing the sides to pull off. Once one little side is raised, it’s game over for your previously perfect nails. That’s why it is important to use a cuticle tool to push and trim the before application. Also, when applying the base coat and first layer of polish, it is important to make sure it is only on the nail and not on any skin as it can lead to premature chipping.
- Thin layers are key
-
When I painted my first gel manicure, I fell for the common trap of using too much polish at one time. Instead of doing what was recommended, I thought I would speed up the process by doing two thick layers like I would with normal polish. Boy, was I wrong. Not only did the manicure bubble up like crazy, but it also created more work for me by having to redo it. The key to flawless gel nails is to apply three to four very thin coats with adequate time under the UV lamp for each set. I wouldn’t recommend going over 30 seconds for each thin layer; however, that is up to the discretion of the gel brand you purchase.
- Don’t leave them under for too long
-
I didn’t even realize I was making this mistake until my mom pointed out I was leaving my nails under the UV lamp for too long after each coat. Turns out that prolonged exposure will cause your manicure to develop little ‘craters’ that are not aesthetically pleasing. Instead of shooting for the high end of the time limit on the package, aim to do as little time as possible provided the layer is dry. This also ties into using thinner layers. The thinner layers you use, the less likely uncured polish is going to lump together during excessive curing.
- Use rubbing alcohol to get rid of that pesky tackiness
-
The trick to making a new gel manicure last is to do a quick swab of rubbing alcohol on each nail after the topcoat has cured. While gel nail polish shouldn’t need it, I find that it helps with the ‘tacky’ feeling that often ends up resulting in smudging. After a quick dab of it, your nail should lose the stickiness and be fully ready for use.
- Pick a gel polish brand based on quality, not price
-
The first set of polish I used was definitely not the best, and it showed on my nails. While some gel polishes can get pricey, it is worth it to do a proper investment the first time around. After all, the bottles may seem small, but with such thin layers and long-lasting results, the bottles last a while. I prefer Gellen, as it isn’t too pricey but durable and of good quality. There are numerous brands out there, ultimately, the best decision is to use the one that works best for you and your nails.
While I am not a nail expert or even proficient beyond a simple monochromatic manicure, I hope these tricks I have picked up along the way help you achieve a long-lasting and beautiful manicure. After all, we all deserve it, even on a broke college student budget.


