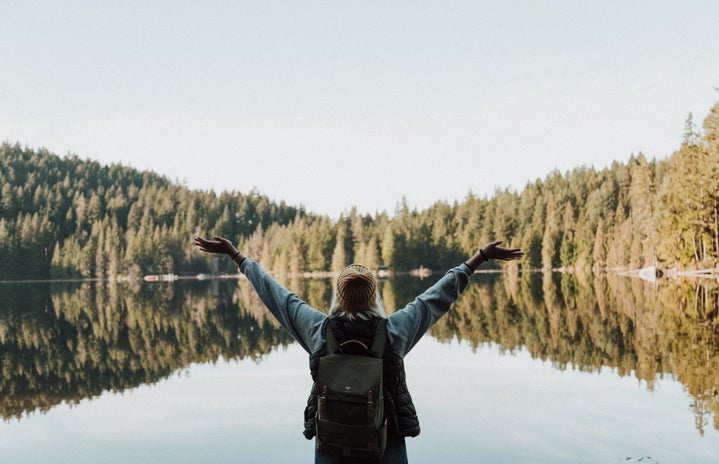
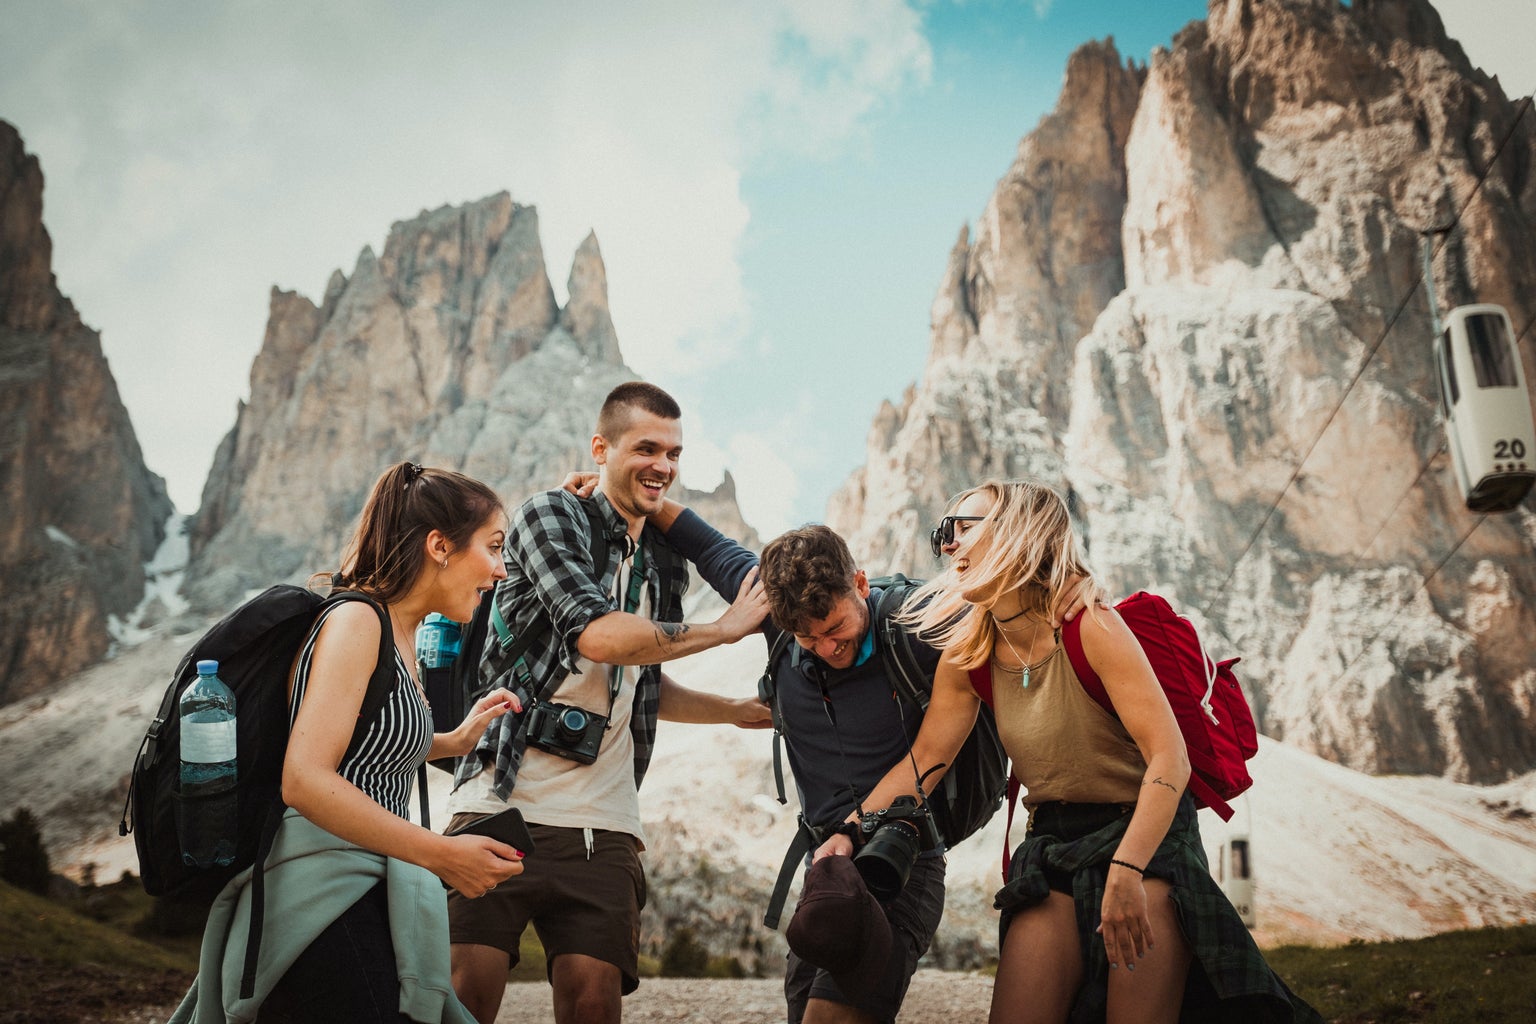
No matter who you are, it’s time to enter your granola girl era.
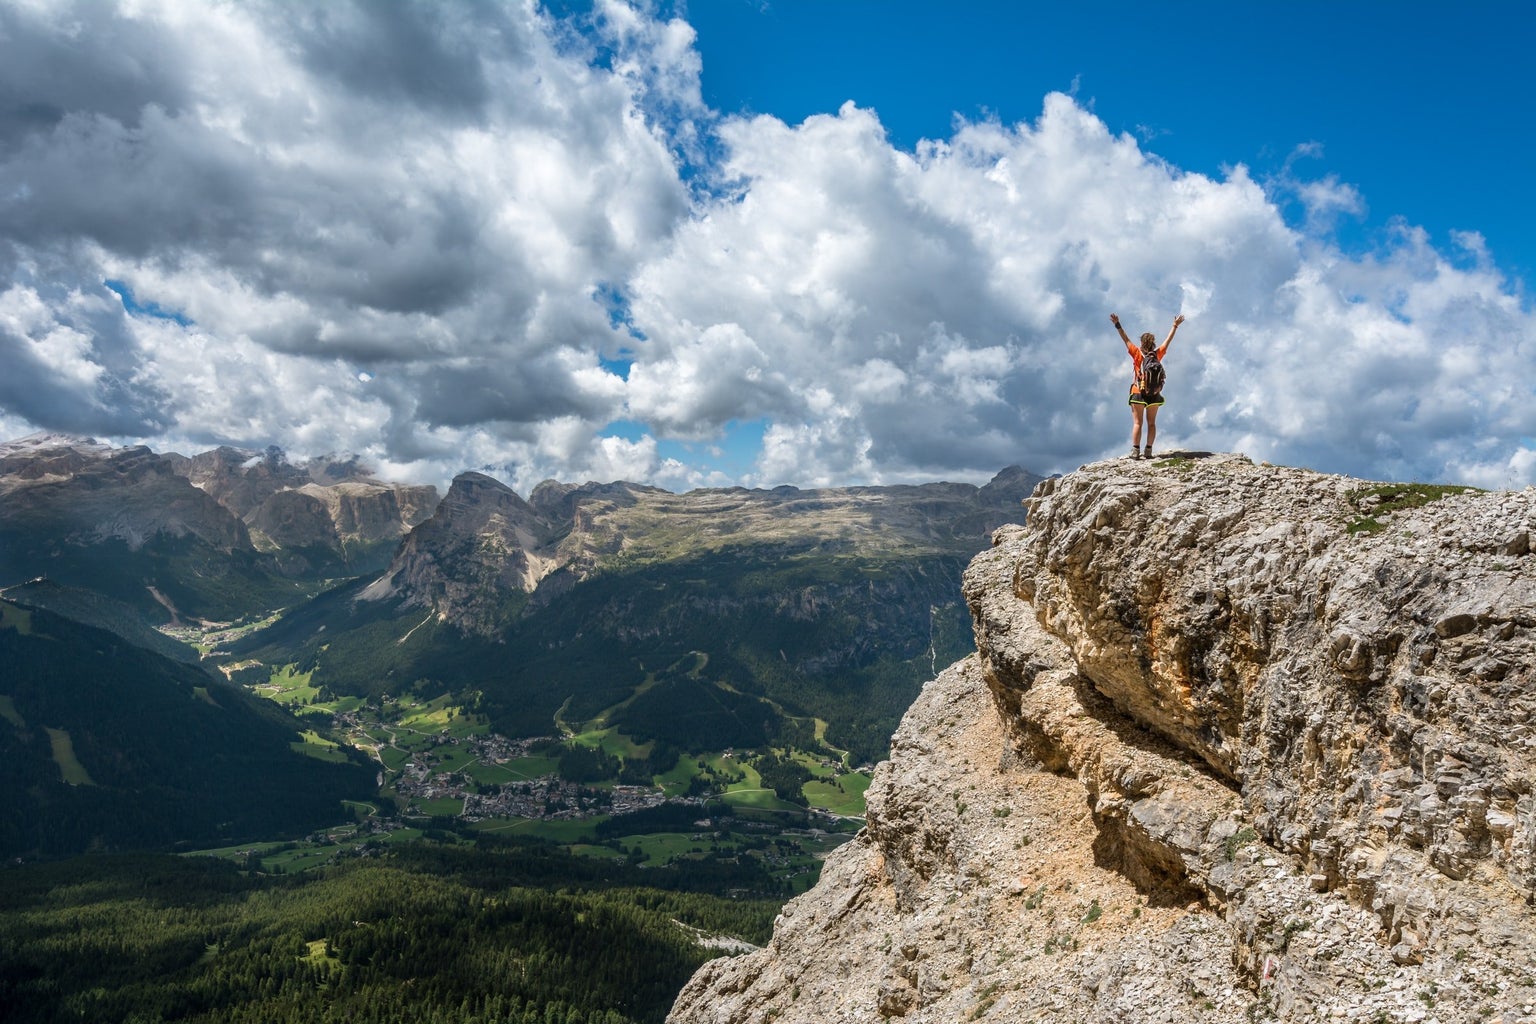
In all realness though, taking time to explore state and national parks has been some of the most rewarding experiences in my life. The rush of adrenaline you get when you reach the top is unmatched and the scenery is only something you see in movies or in magazines. Sure, you might regret your decision when you’re on the way up, but trust me—it’s worth it.
I’ve selected some essential things you’ll need for a successful hiking day based on my past experiences. To begin, you have to prepare lunch and snacks ahead of time. I suggest things high in protein like a sandwich or wrap, beef jerky, protein bars, and salami with cheese. To add an extra buffer, you could also pack a protein shake for that post-hike fuel. Next, invest in some good hiking boots. If you’re looking for some cheaper pairs, look at a surplus store near you or facebook marketplace (some people sell shoes they’ve never worn). Don’t forget to wear your thickest pair of long socks so your feet are as cushioned as possible! Bring two water bottles, one to bring on the hike and one to stay in the car after in case you run out of water. Finally, pack an extra pair of shoes in the car like birks, crocs, or slides because when you’re done with the hike; your feet are going to hurt and need to breathe.
As promised, here are some of my favorite hiking spots that I’ve been to and a short review of each:
Mill Valley – Mountain Home Inn to Mount Tamalpais East Peak: 9/10 intensity
This hike was intense, 1,500 ft elevation gain over 4 ½ miles but there was a beautiful view at the top. You’re covered under trees for most of it so you don’t get too much sun. I suggest bringing bug spray, lots of water, and definitely an extra pair of comfy shoes.
Portola Valley – Windy Hill Preserve: 7/10 intensity
Windy Hill starts out in an open preserve so if you go, start early so the sun isn’t beating down on you. There’s a lot of elevation gain on the way up but when you’re going back, it’s shaded under beautiful trees and if you’re lucky, you’ll see some wildlife. Bring a hat, sunscreen, and water.
Yosemite National Park – Vernal Fall: 8/10 intensity
I first did this hike when it was pouring rain so you can imagine my struggle. I didn’t bring a raincoat or umbrella and since then, I’ve learned to check the weather constantly before I go on a hike. This hike had a lot of elevation gain throughout but you can take a break when you hit the first waterfall. If you’re not feeling up to the full thing, you can also turn around. The second waterfall is breathtaking because you’re so high up and feel so accomplished. If possible, I’d bring hiking poles, sandwiches (bring lots of food because Yosemite’s food is expensive) and water. Don’t forget to check the weather beforehand.
Mt. Madonna County Park – Spring Trail: 5/10 intensity
Spring trail is great for beginning hikers. There’s only 2 steep hills to climb but other than that it’s pretty flat. Not much is needed for this hike besides water and maybe some music!
Bothe-Napa Valley State Park – Redwood South Fork Spring, and Ritchey Canyon Trail Loop: 5/10
This is another good trail for beginning hikers! *Fun fact, if you have a library card, they can loan out free state park entry passes so you don’t have to pay the fee.* There is a portion where you have to walk through a stream so bring water proof shoes or an extra pair of socks. Also, you’re kind of in the middle of nowhere so bring food for post-hike fuel.
I hope these recommendations, tips and tricks helped you plan out a hike for your future. Remember, mother nature is a gift to us so leave no trace when you go which means don’t pick any plants, stay on the trail, and keep any trash you accumulate in your bag to throw out in a garbage bin. Happy hiking!


