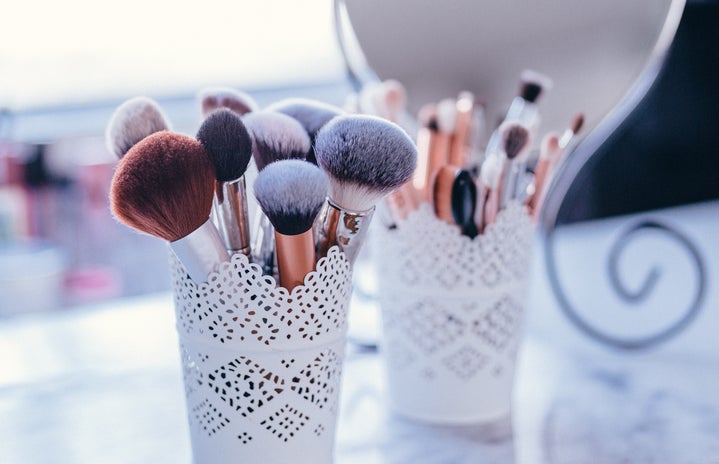
Have you ever bought a makeup brush kit that came with about 400,000 different brushes, and you’re sitting there thinking to yourself “do I really need ALL of these brushes?”
The answer is no.
There are only a few brushes that should be used on a daily bases. Unless you are a profession makeup artist and know exactly how to use each one of those brushes, you really only need the following brushes:
EYES:
1. Flat Stiff Brush: This brush comes pretty much standard in every makeup kit you can buy. If you buy a makeup kit that does not include this brush, you got robbed because this is probably one of the most important brushes in the WHOLE makeup kit! The flat stiff brush is (of course) flat and is used to apply powder eye shadow. The “stiff” means that the bristles of this brush is not feathery or light. The stiffness of the bristles allow this brush to pick up a lot more color than a lighter brush. To use this brush, put your eye shadow on the brush and use the flat side to pack the color onto your eyelid. You do not want to use this brush to swipe across your eye, the bristles are not meant to move across the lid easily therefore you want to actually push the shadow onto your lid.
2. Stiff Dome Brush: This brush is perfect for creating a smoky eye! Because of it’s stiff bristles it allows you to create a clean crease between lighter shades of shadow and the darker shades to create that smoky look. To use this brush, since it still has stiff bristles do not brush side to side over the eyelid, that is not what it is used for. Take the brush and add the desired shadow then gently glide it in the crease of the eyelid and on the corner of the eye to create that faux cat eye or to feather out the smoky eye. If the color seems harsh, no need to fear, eye brush 3 will help!
3. Soft Dome Brush: While shaped like the stiff dome brush in the above photo, this brush has bristles that are much softer, which allows to add less color and makes it easier to blend colors to create a better smoky look. To use this brush: you can use it a few different ways, first is you can use it as a blending brush, just take the brush, no color and just blend the two colors to make the darker shadow not so harsh. Another way you can use this brush is to apply shadow under the brow or under the bottom lash line, this prevents creasing.
4. Pencil Brush: This brush sounds just like what it looks like, it looks like the tip of a pencil or the tip of an eyeliner. This brush is good for smudging under the lower lash line because of its small shape, and also good for blending liner into the upper lash line because of its shape that resembles an eyeliner pencil. To use this brush, you can use it either of the two ways mentioned above. Take the pencil without color and just smudge the already present eyeliner, or take the pencil, put it in a tiny bit of the desired colored shadow and blend it into the bottom lash line. The petiteness of this brush allows you to be more accurate with the color.
FACE:
1. Stippling Brush: Be definition, stippling means to paint. This brush is usually also known as a foundation bush. Powder foundation is all the rage right now, I use creme foundation but that is a different story. A stippling brush, when used properly, will give you an air brushed look from your foundation. Make sure also, that you have the right color foundation, this brush will be of no use to you if you have the wrong color foundation. To use this brush, dip the brush into your power foundation and lightly tap it on the side of the foundation container. If you have too much foundation on your brush it will not blend properly; it is better to have to use more because you did not have enough, than to have to clean off your foundation with makeup remover and have to restart all over again. So after you have tapped it lightly on the foundation container, in small circles apply the foundation, blending it into your skin, repeating for your whole face. Do not forget under the chin! When looking for a stippling brush, make sure that the bristles are soft enough for your face so that it will not irritate your skin, but stiff enough to be able to gather your foundation.
2. Contour Brush: This brush, while some people might not actually need it, I do. If you have a rounder face like I do, and your cheekbones are not chiseled like you want them to be, make sure you keep your contour brush. The contour brush allows you to highlight your cheekbones which makes your face look slimmer. To use this brush, dip the brush into a darker power and gently tap on the outside of the container. Gently apply under your natural cheekbone and blend well enough so that it looks like there is a shadow, but not so much as you lose that color.
3. Angled Blush Brush: (say that three times fast!) Anyway, if you use blush (I happen to have naturally rosy cheeks) then you should keep the angled blush brush. This allows you to add blush to your face a lot easier, and also makes it easier to blend because of its shape. Make sure to get a very soft bristle brush; if it is stiff, then you will pick up too much color. To use this brush, dip the brush into the blush color and drag it up your cheekbone or the faux cheekbone you created with the contour brush.
4. Highlighter Brush: Although a lot of people think this brush is not necessary, I think it is a very good brush to have. Because of its soft bristles it does not pick up too much color of anything. This can be used with blush, foundation, contouring color or anything else. However, I have come to use this brush for applying bronzer. I use a shimmer bronzer everyday to give my face a nice glow. This brush works VERY well. How to use this brush, I use this brush by dipping the tip into my shimmery bronzer and applying it to my face. Bronzer is not supposed to go all over your face, therefore the soft bristles allow me to pick up some color but I am not packing on my bronzer. I get a little bit of shimmer, but it is not overbearing.
So, the next time you go out to get a makeup kit and you feel overwhelmed by the million and one different brushes, remember you do not need them all. I do recommend keeping the whole makeup kit together because you may want to experiment with your makeup and the tutorial calls for a brush that came in your kit but you threw it away. I would say store the rest of your brushes in a safe place and if the time comes where you need it, you will have it.

