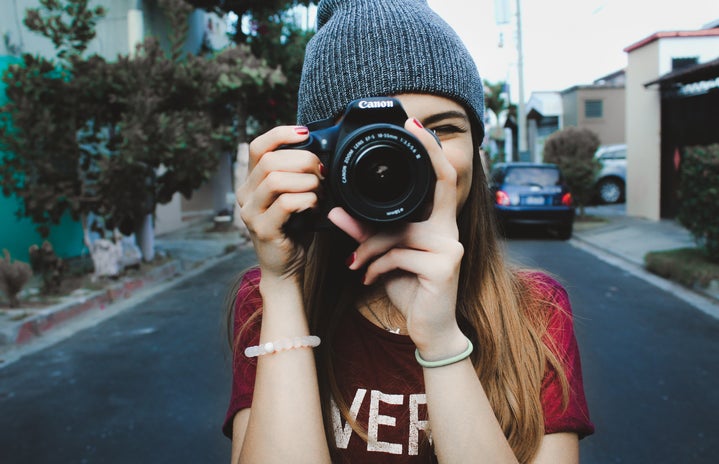
We all desire to just stumble upon the perfect ‘gram-worthy photo and be able to tag it as #nofilter, but unfortunately, photography takes a slight bit more effort than that. Follow along with me as I share some of my favorite photography tips that I’ve gathered throughout my personal photographic journey.
Always have your camera with you
Smart-phone users, this should be a breeze for you – we all keep them in our pockets 24/7. If you have an actual camera, such as a DSLR or a point and shoot, they can be harder to transport easily. I suggest leaving some room in your backpack to store it right on top, with a small standard lens, as not to take up as much room in your bag. Having a camera with you always allows you to be prepared for any possible photo op, which leads me to the next step…
Keep your eyes off your phone
I’m serious! Don’t walk between classes on your phone, or with your head in the sidewalk. Look up! Observe! What do you see? Clouds, flowers, trees, bricks? Perfect! Look again. Do you notice the way the clouds are shadowed; the texture being shown? What about the way the sunlight filters through the tree leaves, creating a multitude of shades of green? When outside, look past the simple flower: notice instead, how the light strikes the petals. Outdoor photography tip: take note of the weather (sunny, overcast, stormy). Bright sunshine creates shadows, which can instantly add depth to any photo. If the day is overcast, even lighting occurs, which could make for potentially ‘flat’ (no contrast) photos.
I took this photo (above) just outside of Ambrose Hall as I was about to enter the building for class. I only used a minute of my time to take about 30 quick varying shots.
Don’t be afraid to take the shot
This might sound silly but stopping for a minute to walk over to that bush in the middle of the grass, while your classmates stare at you as they walk to class, might be a little intimidating. My friends have taken countless photos of me going out of my way to take the perfect shot. Don’t be afraid to lay on the ground or stand on a bench – nothing stands between you and the perfect photo except your own limitations!
Take millions of photos
I know, it will fill up your camera roll (or memory card), but you aren’t going to keep them all. Instead, taking multiple photos from the same spot might capture different lighting, or works as a backup photo in case one or two of the photos weren’t quite in focus. As you take the photos, switch up angles, shooting a subject from multiple sides. Take a step closer, take some shots. Take a step back, take some shots. When you look over the photos later, you might be upset to realize you didn’t capture the photo quite like you thought, so being able to choose from a multitude of varying photos is truly a lifesaver.
Above is a capture of my camera roll. Notice how each photo is a slight variation of the one next to it. I also like to mix up my photos with portrait (vertical) and landscape (horizontal) orientations. Some of these ended up out of focus, so my rapid-fire approach came to my aid.
Did you capture a ‘gram-worthy photo? Congrats!
Check out my other articles for some more tutorials on photography, including editing tips and tricks.


