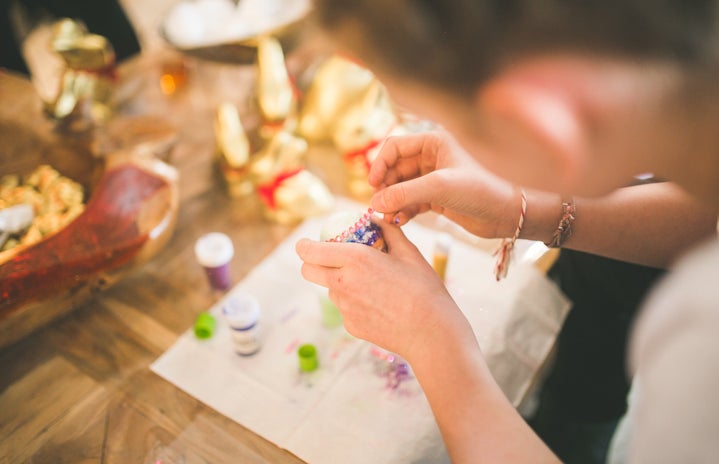
It’s formal season, ladies! And thus, it is cooler painting season. Painting coolers has turned into a Greek tradition that has become super popular in recent year on Miami’s campus. It is tradition that if a boy asks a girl to his Spring Formal (usually a weekend getaway to Gatlinburg, TN), the girl has to paint him a cooler and fill it with all their alcohol for the weekend. It seems easy enough, but in order to have a beautiful cooler that is not only water, weather, and chip-proof, it is important to know what your doing.
What You’ll Need
- A cooler (the less curves/texture, the better)
- Acrylic paint
- Spackle
- Sandpaper
- Paint pens
- Mod Podge
- Tissue Paper
- Polyurethane Sealer
- Paint
- Sharpies
- Pencils
- Paint brushes
- Painters Tape
The Process
Step 1: Sand and Spackle
First thing’s first. You need to make your cooler as smoother as possible. Take your spackle and go over any indents (example: Igloo’s logo is indented in the cooler, so fill it with spackle and smooth it over). Let the spackle dry completely (usually takes about 24 hours). Take your sand paper and smoother over the entire cooler until it’s essentially as smooth as your recently shaved legs. Exhausting it may be, but it’ll make a huge difference in making your paint last.
Step 2: Primer
Now that your cooler is smooth, it’s time to spray it completely with a coat of primer. I recommend using white spray paint that is both paint and primer (found at the local Walmart), made to adhere to plastic. Do a couple of coats to make sure all the sides are evenly primed and don’t get too close to the cooler – the paint will drip.
Step 3: Transfer Your Stencils Onto The Cooler
Freehand your designs and logos onto the cooler. If you’re using tracing paper, place the paper with the image you wanted to transfer onto the cooler EXACTLY how you want it to look – don’t put it upside down or backwards or anything like that. Make it easy on yourself and use painters tape and tape it to the cooler so it doesn’t move around or compromise the look of the image. You can either press decently hard with a pencil to transfer your image over or trace over it with Sharpie. I typically use Sharpie, but be wary when doing this because it can sometimes show through the paint if you press to hard.
*Expert Tip: If you have an extremely complicated image that you don’t feel comfortable recreating yourself, print out a high quality image of what you’d like and simply Mod Podge it onto the cooler later in the process.
Step 5: Paint!
Break out those paint pens and brushes and start painting your cooler! It is much easier to paint one side at a time, especially if you need to lean the cooler a specific direction in order to paint, and leave the corners for last. Tape off certain areas that you aren’t painting (i.e. corners, white handles, top lining, etc.).
Step 6: Let It Dry
When you finish your last side, sit back and wait for the paint to fully dry. Some people try to blow dry the paint to expedite the drying process, I would not recommend this because the paint sometimes runs – but if you’re short on time, it’s not a bad idea.
Step 7: Seal It Up
This is the most annoying step, but BY FAR the most important. I typically coat each side with at least one, if not two, coats of Mod Podge. I cover the entire side cooler and let it dry. Once that is completed, I use spray sealant and spray the entire cooler 3-4 more times before I leave for the weekend.
Step 8: Dry and Fill
Let the sealant dry for at least a day after your last coat, and then fill it up with all the goodies you and your date need for the weekend!
Enjoy your weekend away with your own perfectly customized cooler, and watch how many formal invites you get in the ensuing years, thanks to your new cooler painting skills!

