As college students, we all want to make extra cash, right? Some take on a second job, others sell arts & crafts on websites like Etsy – one way or another, we’re all looking for ways to pad our pockets. Well, I make my extra money with two simple words: freelance photography.
I say “freelance” for a few reasons. 1) I don’t have a photography degree, and I am not any sort of arts major (the only “training” I’ve had in photography was a class I took way back in 9th grade). 2) I am not tied to any sort of professional company or agency. And 3) I’m an independent person, and I like to make my own rules.
You don’t have to be an industry-leading professional to be a great freelance photographer. I’ve been a freelancer since April of this year, and I’ve definitely hit the ground running. It’s been fun, informative, a great learning experience, and a fantastic way to network. But before you grab a camera and head out, let’s make sure to go over a few things.
The equipment
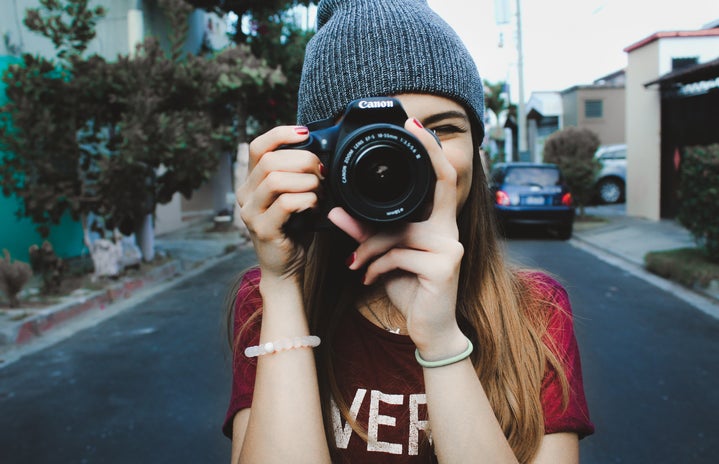
Before you start off as a photographer, you need the right equipment, which obviously includes a camera. I bought my introductory DSLR camera and accessory set from a wholesaler on eBay for less than $400 – WOW! Now, that may still sound like a lot to a college student, but it’s an unbelievable savings compared to buying all the individual components at retail price.
Speaking of the individual components, there are a number of items that your DSLR kit should absolutely have if you want to be able to get started with just one purchase.
- The camera body. Don’t get too hung up on details like megapixels, ISO, etc. Entry-level DSLRs have more than enough to take great pictures on a budget
- A decent lens. DSLR cameras have interchangeable, detachable lenses. These allow you to switch lenses based on the unique demands of each photo shoot. When you’re just starting out, you’ll probably want to make sure your kit comes with a zoom lens (as opposed to a prime lens). Don’t forget the lens caps!
- An SD card. Make sure your first SD card has at least 8GB of memory on it – preferably more. Practice is absolutely crucial early on, which means lots and LOTS of shots, so you want to make sure you’re able to store all of them. (Extra tip – you should have at least one extra SD card just in case one fills up or starts acting funny).
- A battery (and charger). You obviously won’t be able to take awesome pictures if you can’t even turn the camera on. Make sure you always have a compatible battery (preferably with a spare) as well as a reliable way to charge it.
- A comfortable strap. DSLR cameras, once fully set up, can be a little heavy – so you’ll definitely want a decent shoulder or neck strap to carry it with. That way, you can be hands-free in between shots while always keeping your precious camera within easy reach.
- A carrying case. These don’t always come with starter kits, although they sometimes do. A carrying case (designed specifically for DSLRs) will be a must once you’re going out on photo shoots. The pockets and compartments are specially designed for DSLR camera bodies and lenses, and some are even customizable or waterproof.
- Lens cleaning supplies. A typical lens cleaning kit should (at the very least) include lens cleaning cloths and a gentle cleaning solution. You should inspect your lens regularly for dust, fingerprints, etc. and clean it accordingly. For clearing away dust specks, a soft paintbrush or Q-tip should do the job.
Getting started
Once you have the equipment, it’s super easy to get started as a photographer. Just get out there and practice, practice, practice! Sure, you’ll have some slip-ups and goof moments early on, but that’s the whole point of practicing. Figure out what works, what doesn’t work, and what your own unique style is. Take as many photos as you can, experiment a little, and just let loose and have fun with it!
The main downside I found early on was that I didn’t have a lot of guidance, so I had to teach myself and look for my own opportunities. Some of my favorite places to just go out and take photos have been state parks and botanical gardens. If you want to practice shooting portraits, ask a few friends to take part in a fun photo shoot. If your cousin is getting married, ask if you can take photos at the wedding. You may not have a teacher or mentor guiding you every step of the way, but with a little bit of effort and a sense of adventure, you’ll be well on your way to being a GREAT photographer!

