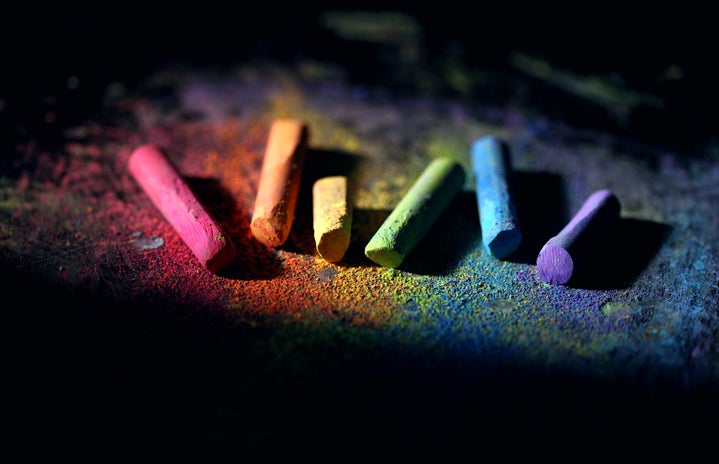
For National Crayon Day, I have decided to go on Pinterest and select my top 5 crayon art projects. There are tons of ways to reuse old crayons. A lot of the pins that I found looked great for classroom use and not just for an at-home project. Most of them involve a heat source, so be sure that you can do that in your future classroom before gathering all the materials.
For this project, you will need crayons, parchment paper, watercolor paper, an iron, and a cheesegrater. The cheese grater is optional if you have a crayon sharpener that would work instead.
Basically, you want your crayons to be shaving size so however you get it there is up to you. After you get your crayons all shaved up, sprinkle them over the watercolor paper however you like. Once the design is how you like, lay the parchment paper over the top and press the iron, on a low setting, onto the papers. It should only take a few minutes to get everything melted.
After you are done and everything is cooled you can use the new watercolor paper to make greeting cards or cut them into shapes to attach to a greeting card.
For this project, you will need peeled crayons, medium-sized rocks, aluminum foil, a cookie sheet, an oven, and little bowls. You should line the little bowls with the foil as well as lay foil and a towel over your workstation. Preheat the oven to 250 degrees and wash your rocks with warm water. Line the cookie sheet with foil and pop the rocks in the oven.
Once the rocks are warm enough the crayons will melt on the warm rocks. If you are doing this with kids, do NOT let them touch the rocks straight out of the oven, that’s what the bowls are for. Once you are done coloring, wait for the rocks to cool completely.
Okay, so I know I’ve given you two melted crayon art projects already, but this one caught my eye simply because the sun has melted the crayons.
Materials for this project are crayons, pencil sharpener, canvas or thick paper, and a sunny, non-windy day. First things first, sharpen your crayons, you want nice pieces of shaving and use a variety of colors. This article suggests keeping all of the same color shavings together. Also, larger shavings are better since they fill the page faster. Next, layout your design. For this project, they did their take on a rainbow but the creativity is up to you.
Once everyone is done, place the pictures in a sunny space outside. The article said that it could take a couple of hours before everything is melted. After everything was melted but not completely liquid they brought their pictures inside and let them air dry before hanging them up. For a future teacher, this could be a great science experiment!
The 2015-2016 slime trend has been taken over by crayons. You will need an airtight container, clear glue, water, baking soda, contact solution, crayons, scissors, and a small bowl. This recipe is borax-free but does offer a link if you want a borax slime.
The first step is to get the crayons into small pieces. They used scissors, but I’m sure you could use a sharpener or vegetable peeler. They recommend doing this over wax paper so that it would be easier to transfer to the bowl when the time came. Next, add the glue to the bowl and SLOWLY add water, baking soda, and crayon shavings.
The very last ingredient to add should be the contact solution. Add this ingredient little by little. Depending on climate and elevation the amount of contact solution can change and dramatically change the outcome of your slime. Stir until the mixture is slimy. If it is too sticky add a small amount of contact solution. You want to not have any sticky residue on your hands after touching it. And you’re done. Pretty quick and easy for a classroom or at-home summer project.
I know just about every kid loves to play with playdough. What’s better than being able to make your own? You will need cream of tartar, flour, salt, vegetable oil, crayons, and water.
In a separate bowl, add all of your dry ingredients and melt the oil and crayons over medium heat on the stove. After the crayons have melted add the water and keep stirring. Don’t be alarmed if the wax separates from the water.
The final step is to stir in the dry ingredients. Once everything is mixed thoroughly, place the dough in the freezer to cool it. The article suggests that while the dough is still warm (not hot), knead the dough until smooth. You can store this in an airtight container for two months in the refrigerator or three days at room temperature.
Thank you so much for reading this article. I hope that it gives you some good ideas for how to celebrate National Crayon day or for my fellow future teachers on experiments to run in your classroom.


