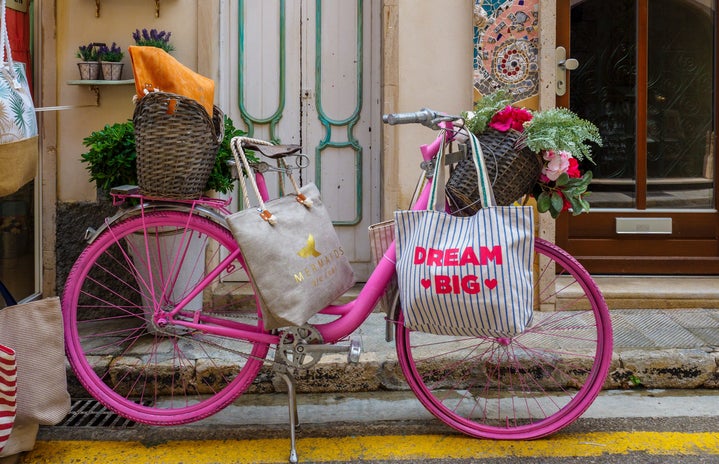
Now that spooky season is upon us, let’s dive deep into one of the scariest phenomena tormenting UCSB’s campus: the bike paths. Weaving through herds of students and tour groups, are the most convenient yet stressful way to get around campus. They stretch from Pardall Tunnel to Campbell hall—although they don’t pass The Arbor where we need them the most.
But why be fearful in the first place? The answer is bike accidents. You’ve either witnessed their horror or experienced it firsthand; for me, it’s both. After seeing a bike accident the first time I stepped onto UCSB’s campus, I promised myself I would never participate.
I held to this oath and left my bike locked to my dorm bike rack for the entirety of my first year. However, having recently conquered my fear of the bike path, I decided it was my responsibility to teach the craft. So I created my Guide to the Bike Path, and I’m here to share it with anyone daring enough to learn.
Preface: The Mindset
Biking is superior to walking. Unfortunately, as you get started you might notice soreness, and from experience, I can tell you that you didn’t just sleep funny. If you’re out of shape like me, it might take some getting used to, but it’s worth it! As you progress toward speed biker status, the 30-minute walk to Campbell Hall can quickly turn into a sub-ten-minute bike ride. Cashing in on those extra minutes of sleep is essential!
Part One: Knowing Universal Hand Signals
Before mounting that incredible bike you got off Facebook Marketplace, you must master the biking hand signals. This should be the easy part. An arm extended to the left means the biker in front of you is turning left. An arm extended to the right means the biker in front of you is turning right. Simple enough! You can use these signals yourself, but it’s not always necessary.
Part Two: Crossing Campus Lines
If you’re anything like me, you love Pardall Tunnel for its spectacular glow, especially after a long night at the library. However, during morning rush hour, the tunnel can become a source of terror. It can get swamped as the main entrance for students entering campus from Isla Vista. Entering the tunnel requires one to navigate the intersection of two bike paths and crossing pedestrians. Now would be an important time to note: those on bikes always have the right of way.
I would recommend beginners enter campus through an alternate route. There is a tunnel near UCSB’s student health building and a path that follows Trigo Road and passes by San Rafael. With less bike traffic, these entrances are a great way to avoid collisions while you are a mere apprentice.
Part three: Roundabouts
We all know that everyone skipped over roundabouts during Driver’s Ed, hoping they would never encounter one on the road. (Or was that just me?) But tough luck, if you want to bike on campus, you will need to learn the roundabouts inside and out.
When entering the roundabout, you must yield to bikers already circling that beautiful patch of green grass. Don’t stop! Enter on the right side of the path and only bike in a counter-clockwise direction. If you get stressed or confused, keep circling until you figure it out; I promise no one will notice. Identify which direction you are heading, and if in doubt, follow the person in front of you. You will encounter the first one in front of the SRB, and if you make it past this checkpoint, you are good to go.
Part Four: In’s and Outs No One Will Tell You
With random bumps, cracks, and drains all over the path, some people might swerve to avoid them. With time you will learn just where these bumps are and how to avoid them, but it’s something you need to experience yourself.
Part Five: Locking Your Bike
I learned after my first year that you don’t need to crawl underneath your bike handles to lock your tire to the bike rack. In fact, this is quite literally one of the worst ways to lock your bike. Besides the fact that I definitely embarrassed myself in front of my fellow bikers, my water bottle would usually spill onto me as my backpack flung over my head. Don’t do this. Please. I’m begging you. Instead, lock your bike’s frame to the top of the bike rack. And don’t fret; there’s always space on the racks, even if it takes a minute to find an open one.
Afterword: For the Advanced Biker
If you’re reading this for advice to embark on your biking journey, stop here and come back once you feel confident in your abilities.
First is AirPods. We get it; you want to listen to your local IV bands on the way to your 8 am, but tuning out your fellow bikers can be risky. Second: one-handed or no-hands biking. It’s essential to always remain in control of your vehicle; removing one of your hands from the handles can be dangerous. (But seriously, can someone teach me how to bike with no hands? I thought that one would come after I lost the training wheels but clearly not.) Last is eating or drinking. This one goes along with one-handed biking. Only engage in this behavior if you are confident in your abilities.
After the Afterword: DON’TS
I know this might be tough for those only attending classes for a chance of making it on Hot Ticket, but no long skirts or flowy pants. If your clothing gets caught in your bike’s gears, you might have to learn this one the hard way. Grease stains or tears aren’t going to look cute on your Instagram feature! Finally, phones. Please never do this.
After reading my Guide to the Bike Path, you will hopefully feel ready to embark on your biking journey. So unlock that shiny blue bike and get ready to take on the world. Safe biking!


