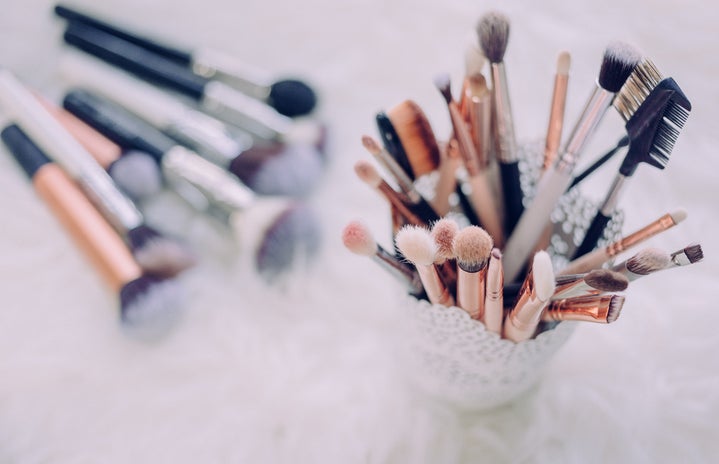
Cleaning your makeup brushes. Everyone tells you to do it, but come on. Do you really need to wash out your brushes? Actually yes, but don’t feel bad. You’re not the only one who hasn’t washed your blender since you bought it. This guide to actually cleaning your makeup brushes will help you be just a little kinder to your skin.
Why Should You Clean Your Brushes? Think of your makeup brushes like paint brushes. You start out with a brand new brush and use it to paint your canvas, but never wash it. When it comes time to paint your next canvas the paint doesn’t apply well and the old paint from your last work is compromising the new work. A makeup brush is like a paintbrush, but you are applying the pigments directly to your skin; a very delicate canvas. Not only will old pigments stay in your brush, but bacteria and oils will build up in the brush as well. Unclean brushes will affect application and blending as well as causing skin problems such as breakouts. Washing your face for a clean application is counterproductive if you are using unsanitary tools.
How Often Should I Clean My Brushes? The blanket answer is daily, but let’s be real. If you can manage to clean your brushes once a month you’re already ahead of most of us. Truthfully, you can get away with washing your eye makeup tools less frequently than your face makeup tools. If you can wash your eye makeup brushes twice a month and your face makeup brushes weekly you are on the right path for happier skin.
How to Clean Your Brushes There are endless suggestions on how the right way to clean your makeup brushes. Keep in mind that these are just some of your options when it comes to cleaning makeup brushes. I have come across several other options including: Dawn dish detergent mixed with vinegar, baby shampoo, olive oil mixed with dish soap, isopropyl alcohol and lavender oil, coconut oil and dish soap, just water, and store-bought products. The true key is to try different options and see which work best for you. Being a little skeptical of some of the home remedies on Pinterest, I decided to ask real people about their brush-cleaning techniques. Here is what I found:
1. Korinne’s Method: Regular Soap
Why spend more money on brush cleaner when you could just use hand soap? Wet your brushes with warm water and then apply a little handsoap, cleaning the brush according to its shape. When you feel that the brush is clean, rinse with warm water. Reshape the brush and leave to air dry.
2. Leah’s Method: Bar Soap
This method requires only warm water and bar soap. Try to use a brand of bar soap that is plain and gentle, such as Dove. Swirling or rubbing the brushes onto the bar soap will deeply clean the brushes and the gentle soap will prevent damage. Be careful to swirl gently as to not break off any bristles. Rinse the soap out with warm water, reshape the brush, and leave out to dry.
3. Kaylee’s Method: Neutrogena’s Hydro Boost Face Wash and Brush Cleaning Tray Neutrogena’s Hydro Boost face wash which not only works as a makeup remover, but as a brush cleaner as well. First, you will need to wet your brushes with warm water. Then, apply the Neutrogena Hydro Boost directly to the brush. Rub the brushes against a makeup cleaning tray and rinse out with water. Repeat this process until the brushes are clean, then reshape the brushes and lay out to dry. Note: In any of these methods, be sure not to fully submerge the base of the brush in water. This will prevent damage to the bristles.
How to Dry Your Brushes Always be sure to rinse your brushes out with warm water to ensure the brushes are not retaining any product. Squeeze your brushes gently to remove excess water and reshape the brushes. Essentially, you should make sure your brushes are in the general shape they were in before you started washing. For example, make sure your round brushes aren’t frayed out to the sides and that your flat brushes aren’t bunched all together. Shape your brushes from base to tip to help remove water more effectively and maintain the correct shape. If you want to get fancy about it, you can purchase a makeup brush drying rack that will allow your brushes to dry upside-down. These generally hold several brushes and allow brushes to dry in their correct shape instead of getting smashed on one side from drying on a counter. This will also prevent water from weakening the glue’s hold on the bristles. If you don’t want to spend the money, you can create a makeshift drying rack by rubber-banding your brushes upside down from a clothing hanger.
Brush Cleaning Techniques
You should clean your brushes a little differently depending on the shape of each one. Otherwise, you might end up accidently altering the shape of your brush. The key here is really just a little common sense. Pay attention to the shape of your brush and do your best to maintain that shape while washing. For example, round brushes should be swirled while flat brushes should be cleaned side-to- side. In this way, the overall shape of the brush is not jeopardized. Keep this in mind when drying your brushes as well, allowing the brush to air dry in its original shape. You might also consider purchasing a brush cleaning tray. These are essentially textured surfaces that offer deep cleaning for different types of brushes. When using a cleaning tray, rinse the tool with warm water first before applying your cleaning product of choice directly to the tray. You will then gently swirl or rub your brushes against the different textures. You can make your own brush cleaning tray by applying different patterns to a plastic clip board with hot glue.
When Should You Buy New Brushes? Obviously if any part of your brush is broken or cracked, it’s probably time to buy a replacement. However, there are other less obvious ways to tell if your brush’s time is up. First of all, notice your interactions with your brush. Does using this brush lead to breakouts? If so, there is a chance that this brush is too dirty to clean and therefore should be disposed of for the sake of your skin. Another sign is if your brush is misshapen. This is where it becomes very important to dry your brush in such a way that it maintains its shape. A brush that is misshapen has the potential to be forever warped. However, before discarding this brush be sure to try and give it another wash to see if its form can be salvaged. A final warning sign is if your brush has missing bristles. This will be problematic for the functionality of your brush, making application and blending suffer. Loosing bristles will naturally occur after regular use and washing, but can also be the result of poor manufacturing. Depending on the quality and maintenance of your brushes, it is suggested that you replace your brushes every one to five years. That being said, you should also be especially wary of products that come with wands (e.g. mascara, lip gloss, etc.). These products are especially prone to bacteria buildup and should be replaced regularly.
Resources for More Information
1. PopSugar Beauty: How Often Do You Really Need to Clean Your Makeup Brushes?
2. Allure: How to Clean Your Makeup Brushes (And How Often You Should Do It)
3. All You: Clean Your Makeup Drawer: When to Replace Everything


