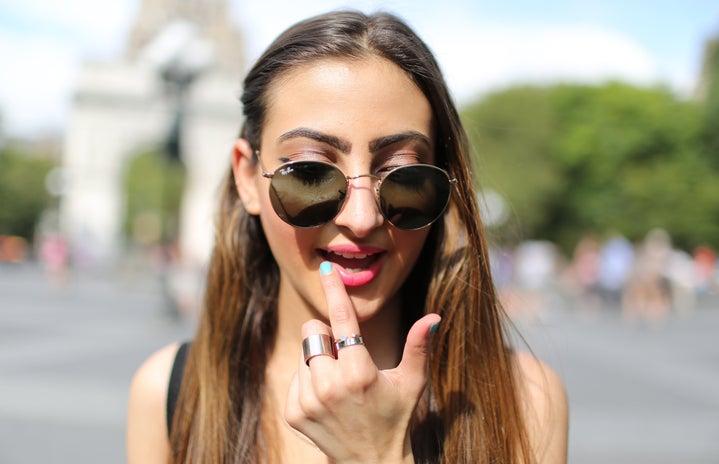
Brows are there for the sole purpose of not letting debris, dirt, and sweat into the eyeballs. They are also one of the most important features on the face, helping us express all of our emotions and how we communicate. But let’s talk about what we actually care about, the steps on how to make them look on fleek, fire, and SNATCHED.
Kylee’s Favorite Brow Products!
- Anastasia Beverly Hills Eyebrow Pencil
- Anastasia Beverly Hills Eyebrow Gel
- MILK Kush Brow Gel
- But… if you can’t afford that s***, my favorite drugstore product is the Covergirl brow pencil
Step 1: Finding Your Face Shape to Best Fit Those Brows.
Oval Face: Natural look with a slightly lower/straight beginning leading to an arch that is not too harsh to compliment the longer and more narrow face shape.
Round Face: Keep them shorter in length but with a higher arc. This will help create the illusion of a longer face.
Square Face: Square faces can go either way. Sharp eyebrows can help with people who have sharp jawlines. Softer jaw shapes can also be complemented with softer rounded eyebrows.
Heart/Diamond: Low rounded arcs are your best friend. Create a straighter (not thinner) beginning of the brow then leading into softer arcs.
Step 2: Rules of Creating Your Eyebrows
Before filling in or shaping/threading/waxing the eyebrows make sure you never over-pluck. The worst thing you can do is turn your brows into those thin 90’s looking eyebrows.
- Line up your eyebrow pencil vertically so the bottom is lined up with the outside part of your nostril. From there, mark where the pencil falls on your eyebrow and that will be your beginning mark
- Line up your pencil with your nose, then to the outside corner of your eye. That ending point on your eyebrow should be your new ending point.
- Most importantly, let’s find where your arc lays. You have the option to pick wherever you want. BUT, if you want them absolutely proportional look at the above description of your face shape. The arc also should be around ¼ the way in.
- You also have the choice to pick the thickness of your brows. It’s a free country, but, the thicker brows are more in trend nowadays.
Step 3: Rules of Filling in Your Eyebrows
For those who struggle with makeup or don’t have the luxury of thick eyebrows (me), this part is especially for you.
- Follow the direction of your eyebrow hair.
- Start in the middle of the brow, fill in your brow until you make it to the end. It’s better to use a heavier hand to make a gradient effect.
- Fill in the front lighter so it looks more natural and less harsh. Alternatively, when you have excess gel left over on your eyebrow brush, now is the time to fill in the front of your eyebrow.
- Blend all the makeup with a spoolie to create a gradient effect
- Clean up the outside of the brow with concealer, and blend it out
- Grab your favorite brow gel and comb over the brows to keep them in place.
Step 4: For Those Who Don’t Have Brows AND Hate Makeup
- Microblading. A form of semi-permanent tattoo. Make sure to find a professional.
- Tinting or Henna. Temporary form.
- Extensions. Yes, they exist.
- Transplants. Yes, they exist.

