


Qua·ran·tine Cra·zy
adjective
losing all sanity after being quarantined for a long period of time.
Related searches:
- Can you die of boredom?
- What items do you need for isolation in the house?
- What do you need to survive a zombie apocalypse?
- How do I make a T-shirt from scratch?
Admit it, when quarantine hit, you became a little crazy– trying out anything and everything just to avoid boredom. Let’s be real, you probably googled at least one of those related searches. I was no exception (See the last related search).
Out of nowhere, I decided that I wanted to create a T-shirt from scratch. Armed with nothing but one crooked needle, black and white thread spools, scissors, stationary and an old scarf, I set out to make a T-shirt. With the guidance of YouTube, of course.
Disclaimer: it was my little sister’s size (she’s four).
Thus, began my ‘Quarantine Experiment’- a test to determine if I could sew something from scratch using only what I had at home. Translation: I refused to spend money on supplies before confirming it wouldn’t go to waste.
I broke down the process into ten steps, which took a period of just two days. Keep in mind, I was a little Quarantine Crazy and barely took breaks:
Step One: Watching videos and gathering supplies
The first thing to do when trying something new is to seek guidance from talented people on YouTube. A few well-worded searches led me to discover an easy tutorial for creating a t-shirt at home. This video helped me take stock of the supplies I would need. The following were the supplies I gathered based on the video (If I missed anything I apologize for my memory):
-
Fabric (duh)- I used an old hijab cloth
-
Measuring tape
-
Ruler
-
Pencils/pens/markers etc.
-
Scissors
-
A4 paper (to make one larger paper for the draft + some extra )
-
Tape (to join the paper for the draft)
I soon realized there was one catch in the video, the shirt was stitched together using a sewing machine rather than by hand. That made me realize I would have to learn to stitch by hand and do the rest using common sense (or what little of it I have). Therefore, I searched and found a beginner’s guide on how to sew a simple strong seam by hand. Improvising, I just gathered some hijab pins, one needle and a few thread spools that were in my house. These two videos were really all I used, and so believe me when I say it’s truly easier than it seams (please laugh for my sake, I tried).
Step Two: Creating the paper draft
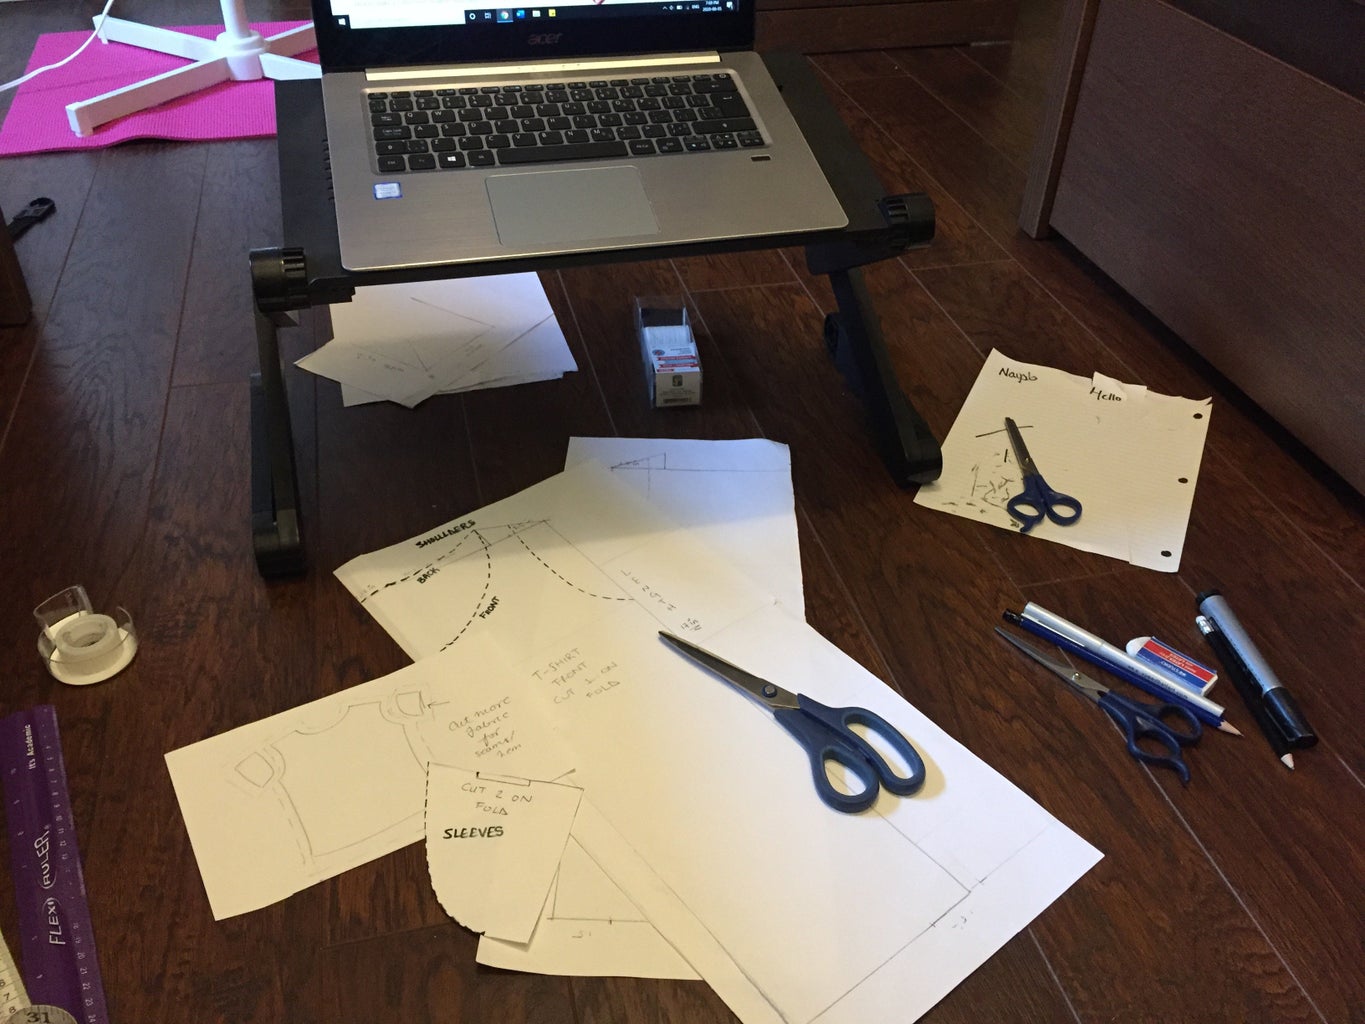
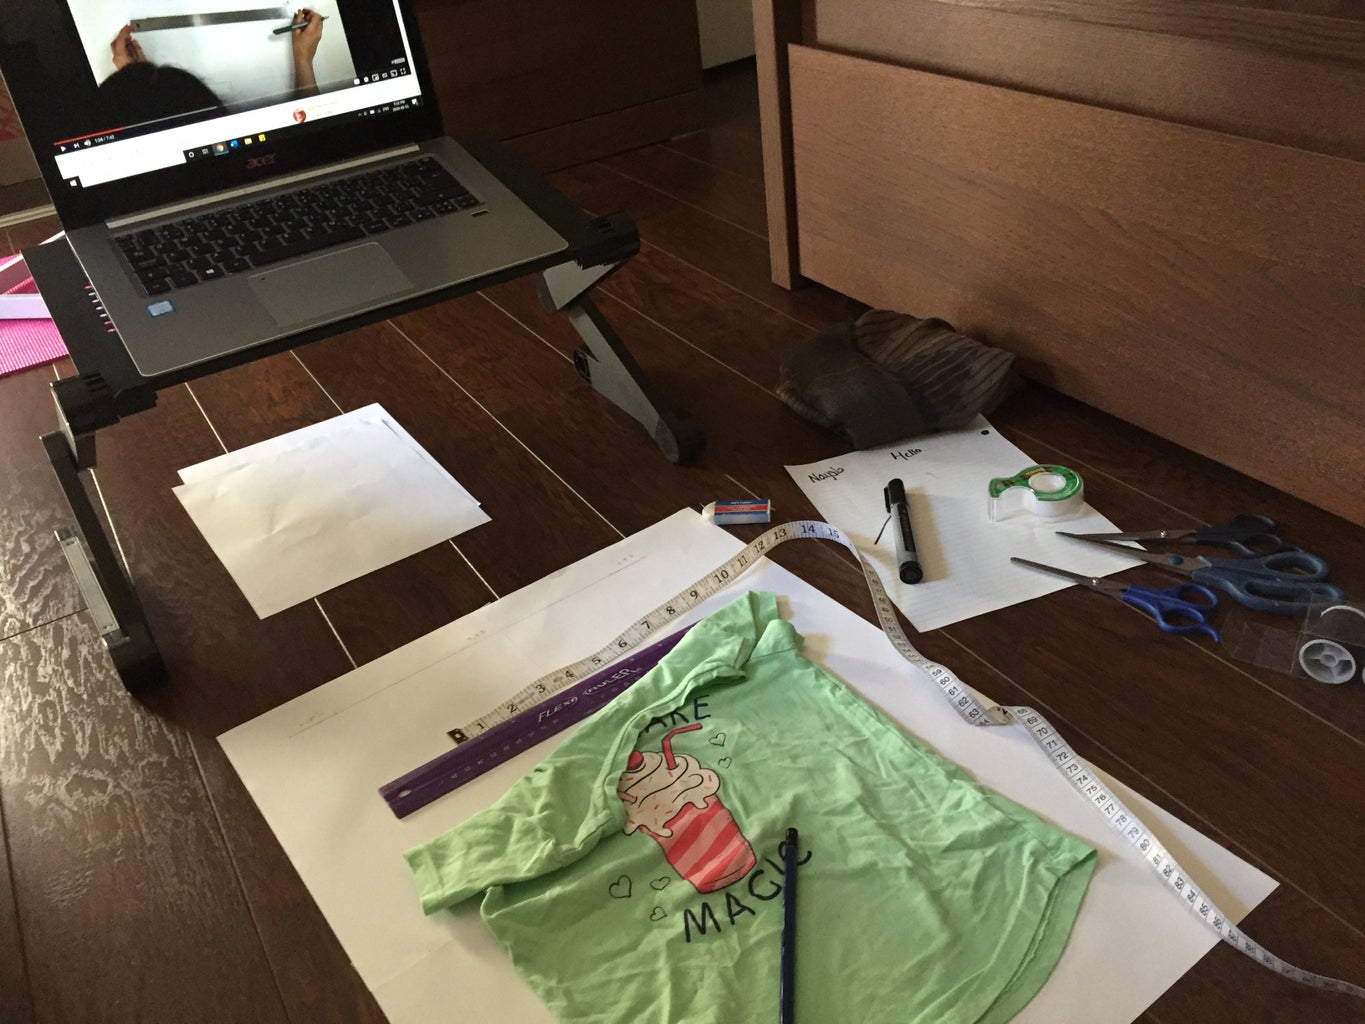
I made the paper draft based on the first video. As you can see from the picture, I spread everything on the floor (like a maniac) and used my laptop stand to watch the video. There was a lot of measuring involved but I based my measurements on one of my little sister’s shirts. Going into detail on how to create the paper draft would be a waste of time because you can just watch the video hyperlinked above (And there are still eight steps to go!)
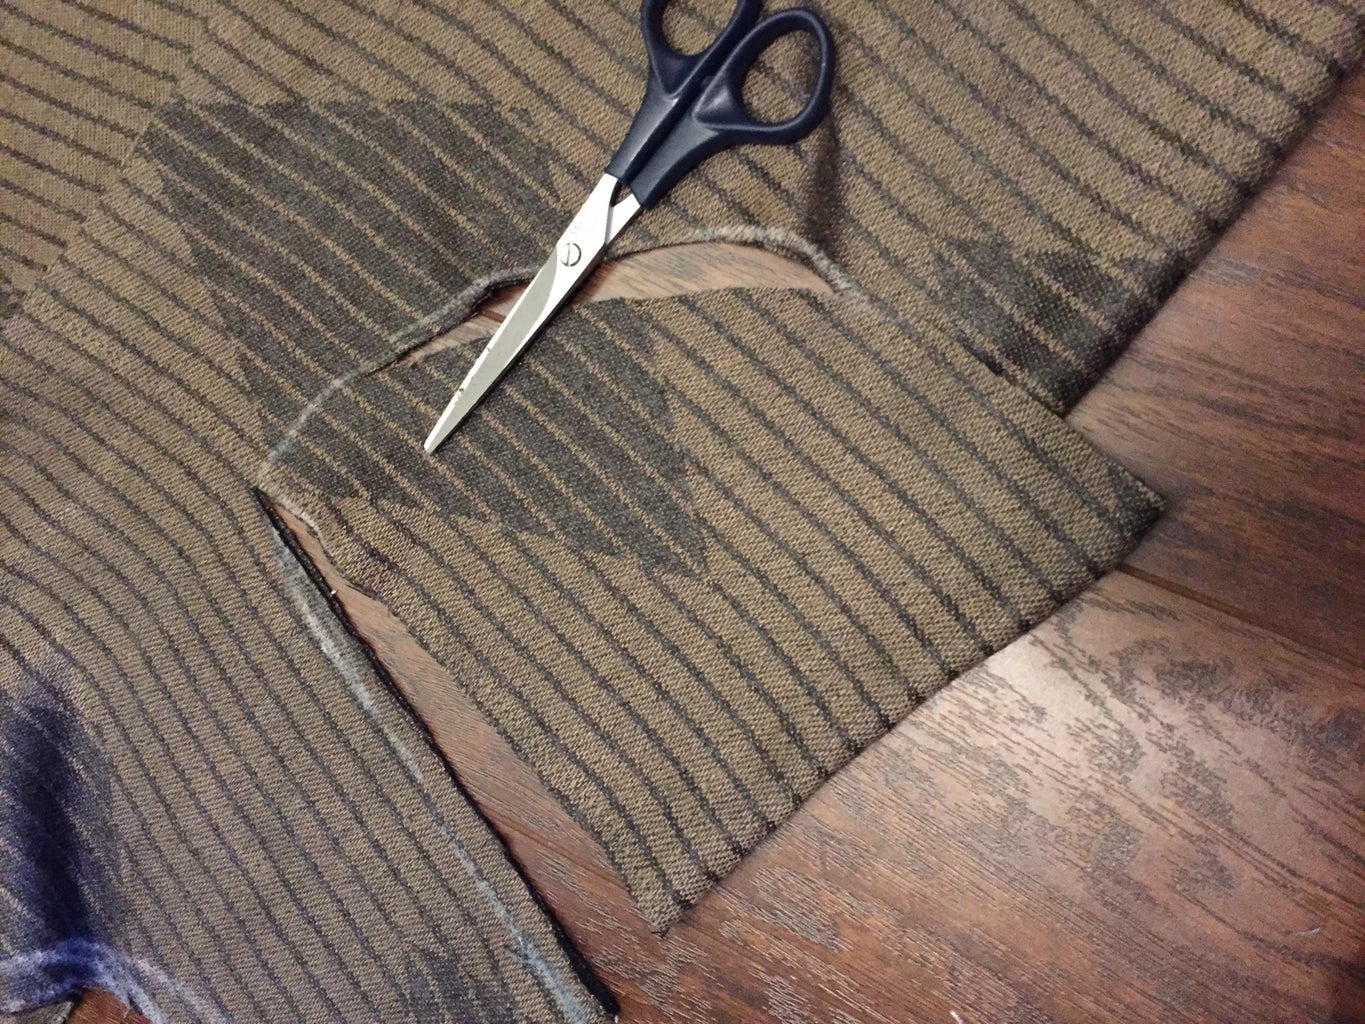
Step Three: Cutting the fabric
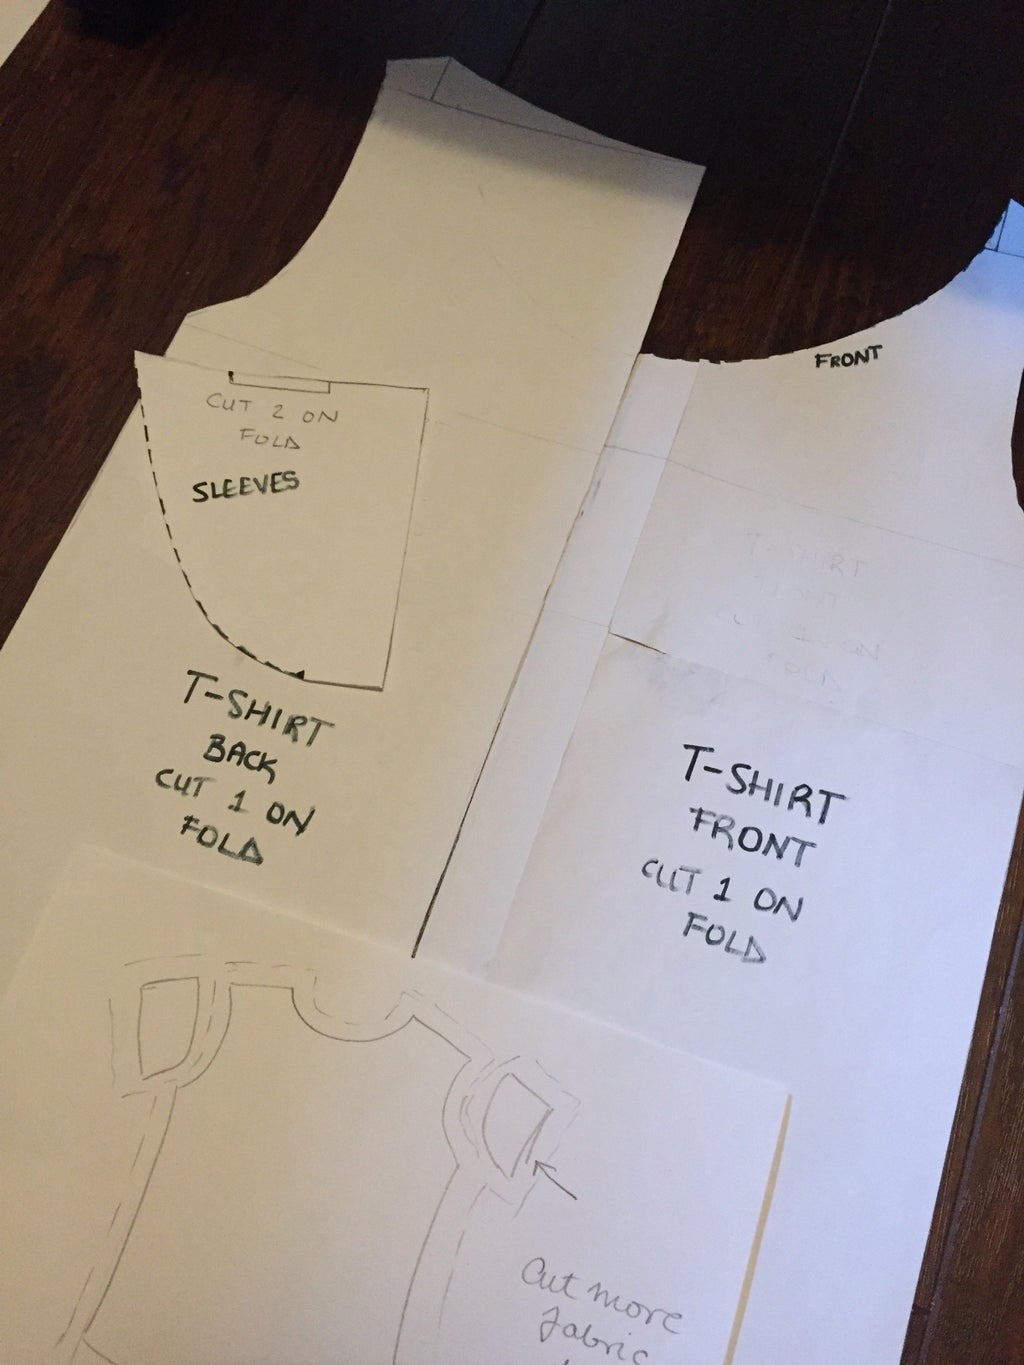
Ah, the most nerve-wracking step because I had limited fabric (literally a scarf) and I did not want to mess up the cuts. The tutorial showed how many cuts you should make on one fold through the paper draft. For the front and back of the shirt it was one cut on one fold, and the sleeves were two cuts on one fold. I admit, when I first read it, I had no idea what that meant- so let me help you understand it visually:
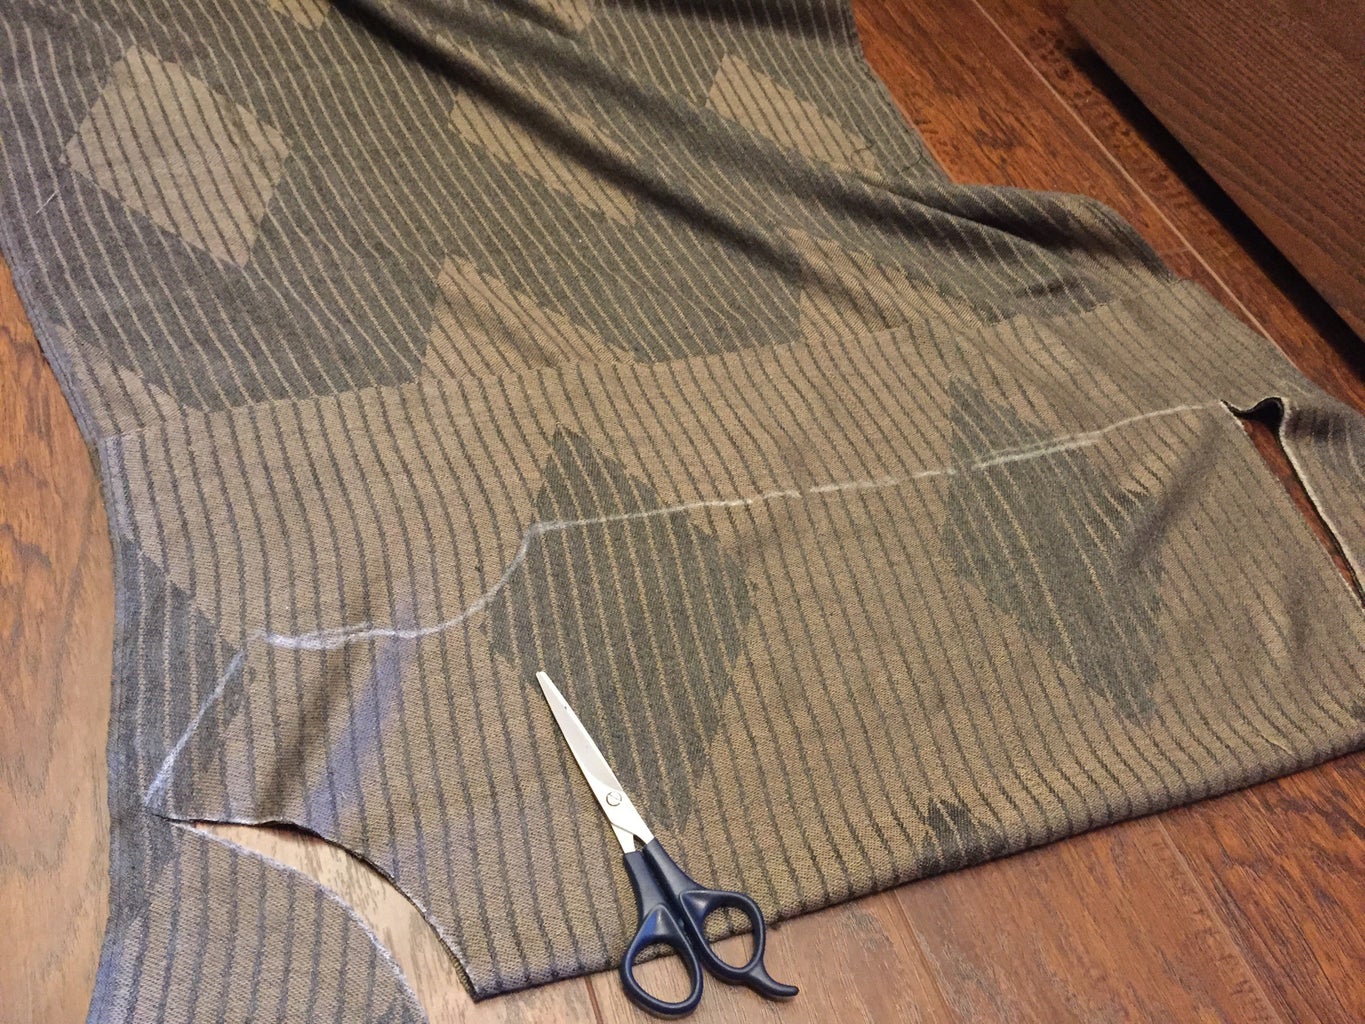
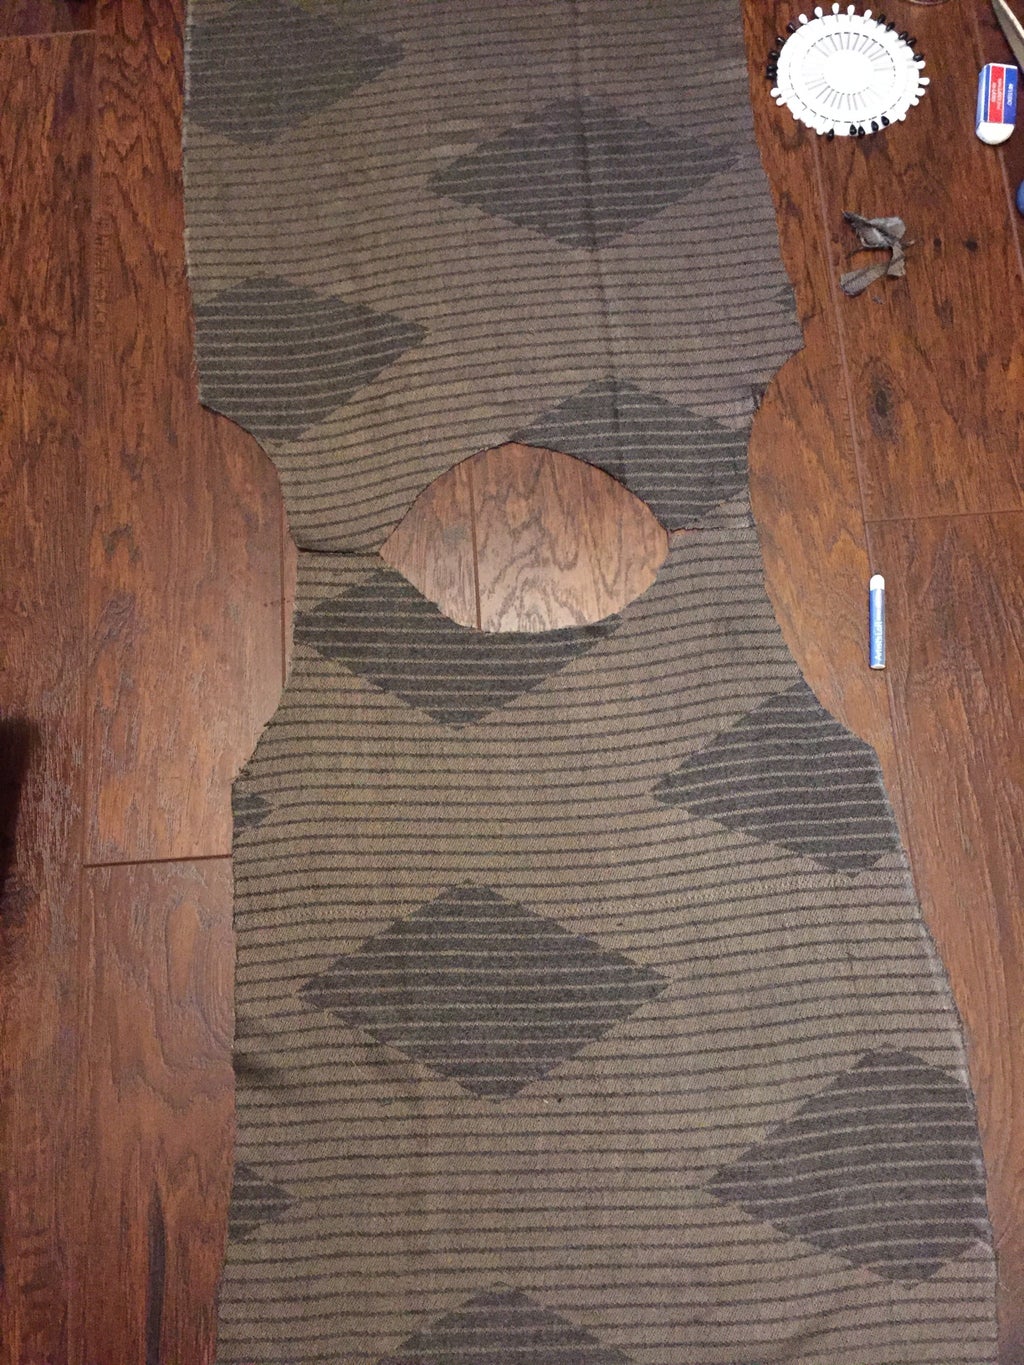
One cut on one fold means to fold your fabric and then cut out the paper draft on that fold once. However, one tip (also mentioned in the video) is to keep in mind that you need more fabric than you measure to leave room for hemming and stitching the pieces together. This means that the measurements may be slightly off, however you can adjust it when you are sewing and it should work. Afterward, lay out the pieces to get a sense of how they fit together (the neckline was a little off for me so I adjusted it).
Step Four: Sewing the shoulders
The tutorial showed where to stitch the shoulders, and said to do them first. So that’s what I did except I hand stitched it using the seam I learned from the beginner’s guide video. I did have to sew it repeatedly for the shoulders to join properly. Also, always remember- you sew the inner side of the fabric. Use the pins to join the two pieces together, and then take them out as you sew.

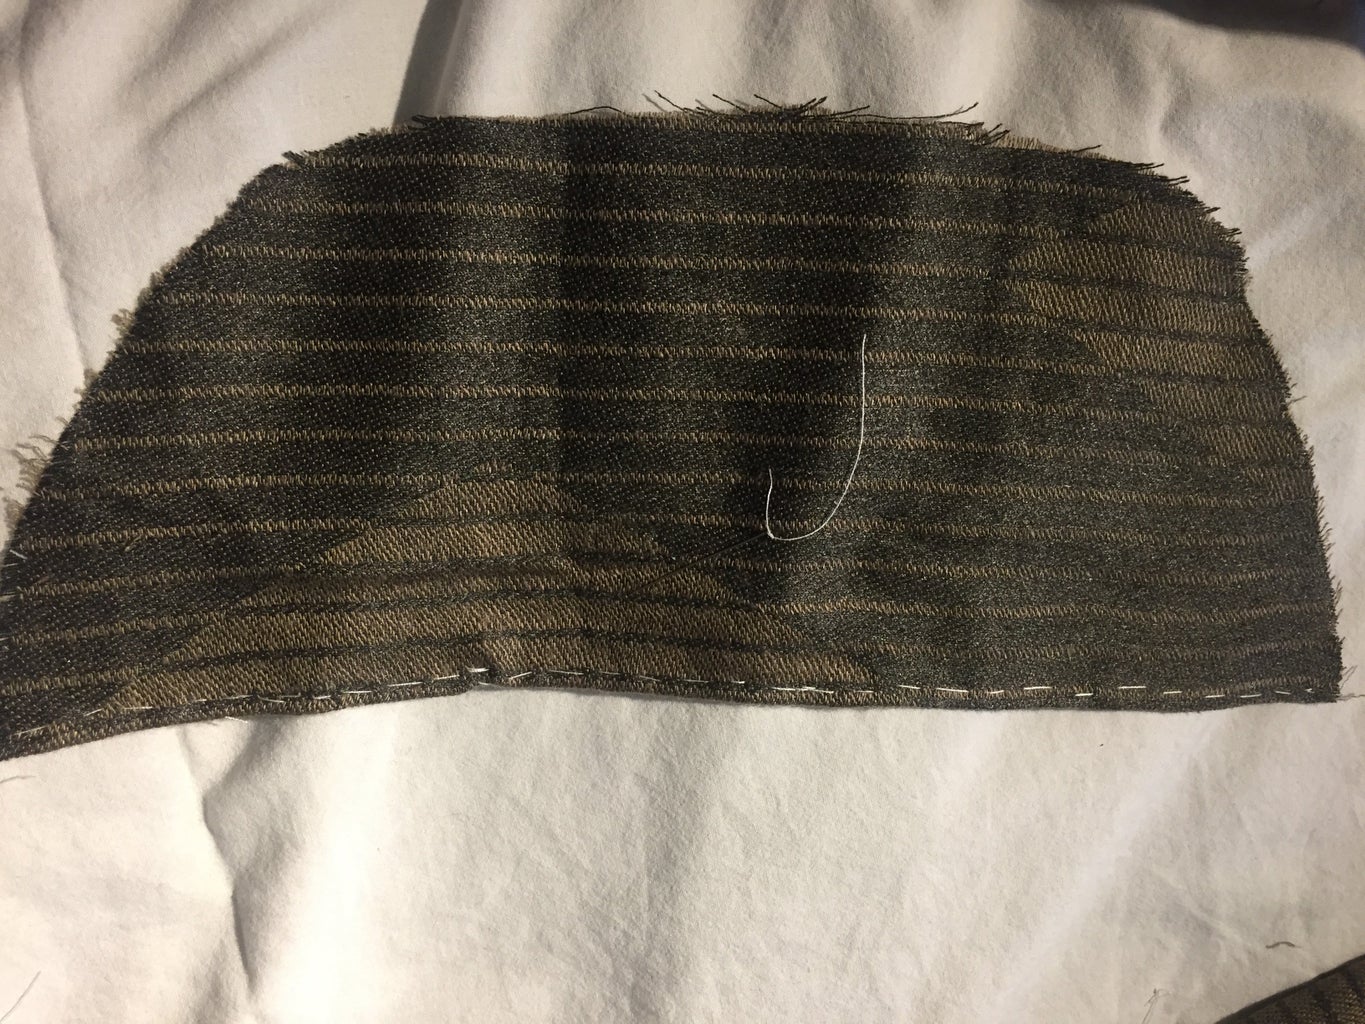
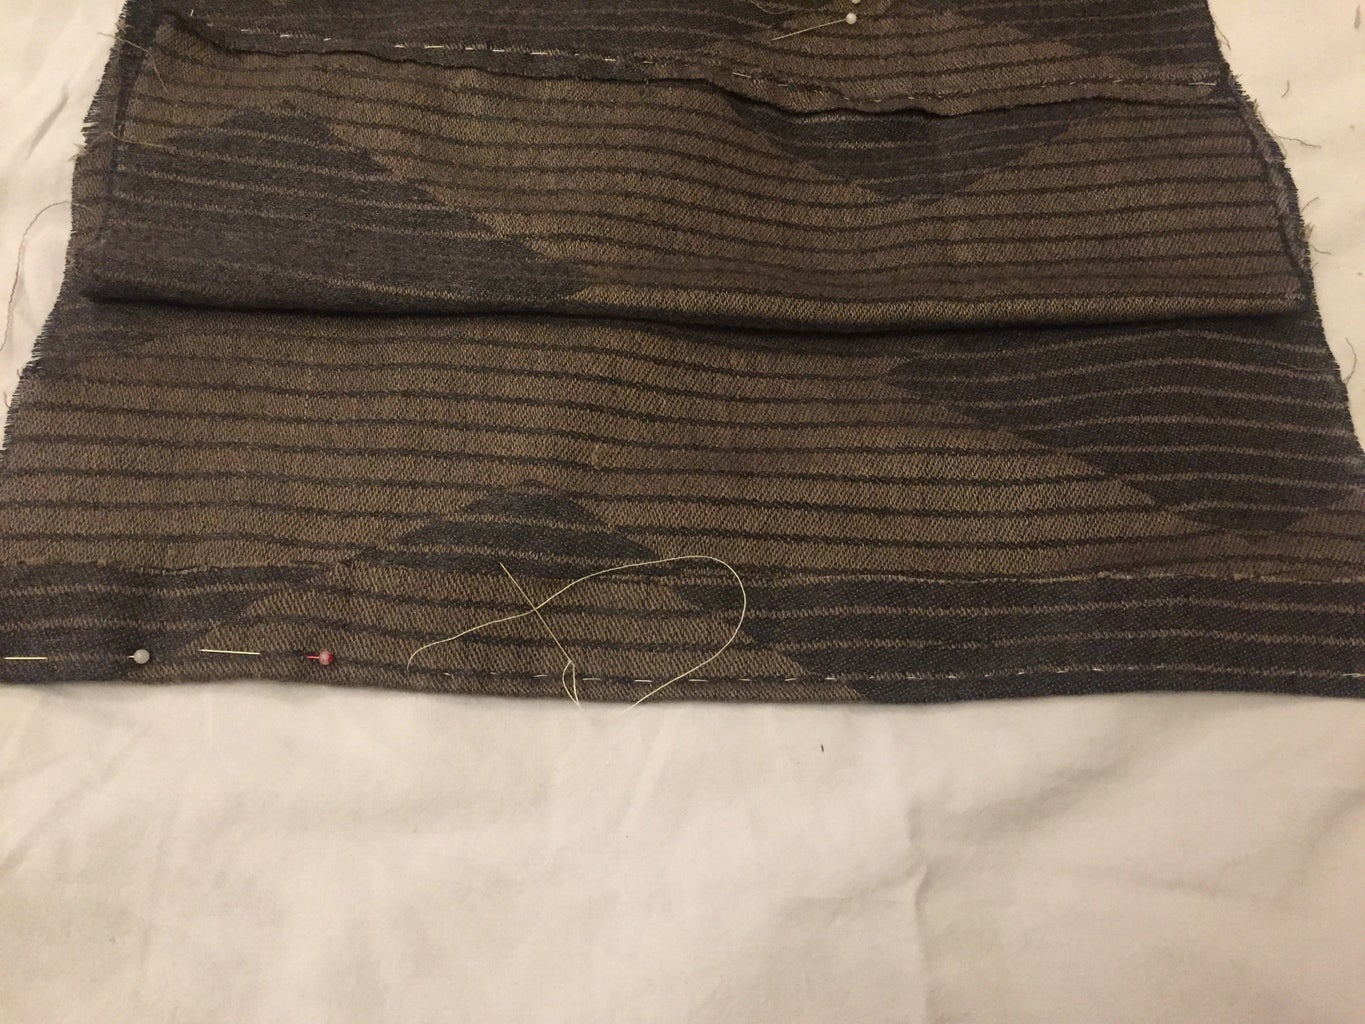
Step Five: Hemming the sleeves
From this step forward, I decided to go on without any guidance, since it seemed simple enough. I also hemmed both sleeves with the same seam- in fact, I stitched the whole shirt with the same seam that I learned since it was super easy. As you can see from the picture, I sewed straight lines to make it look nice.
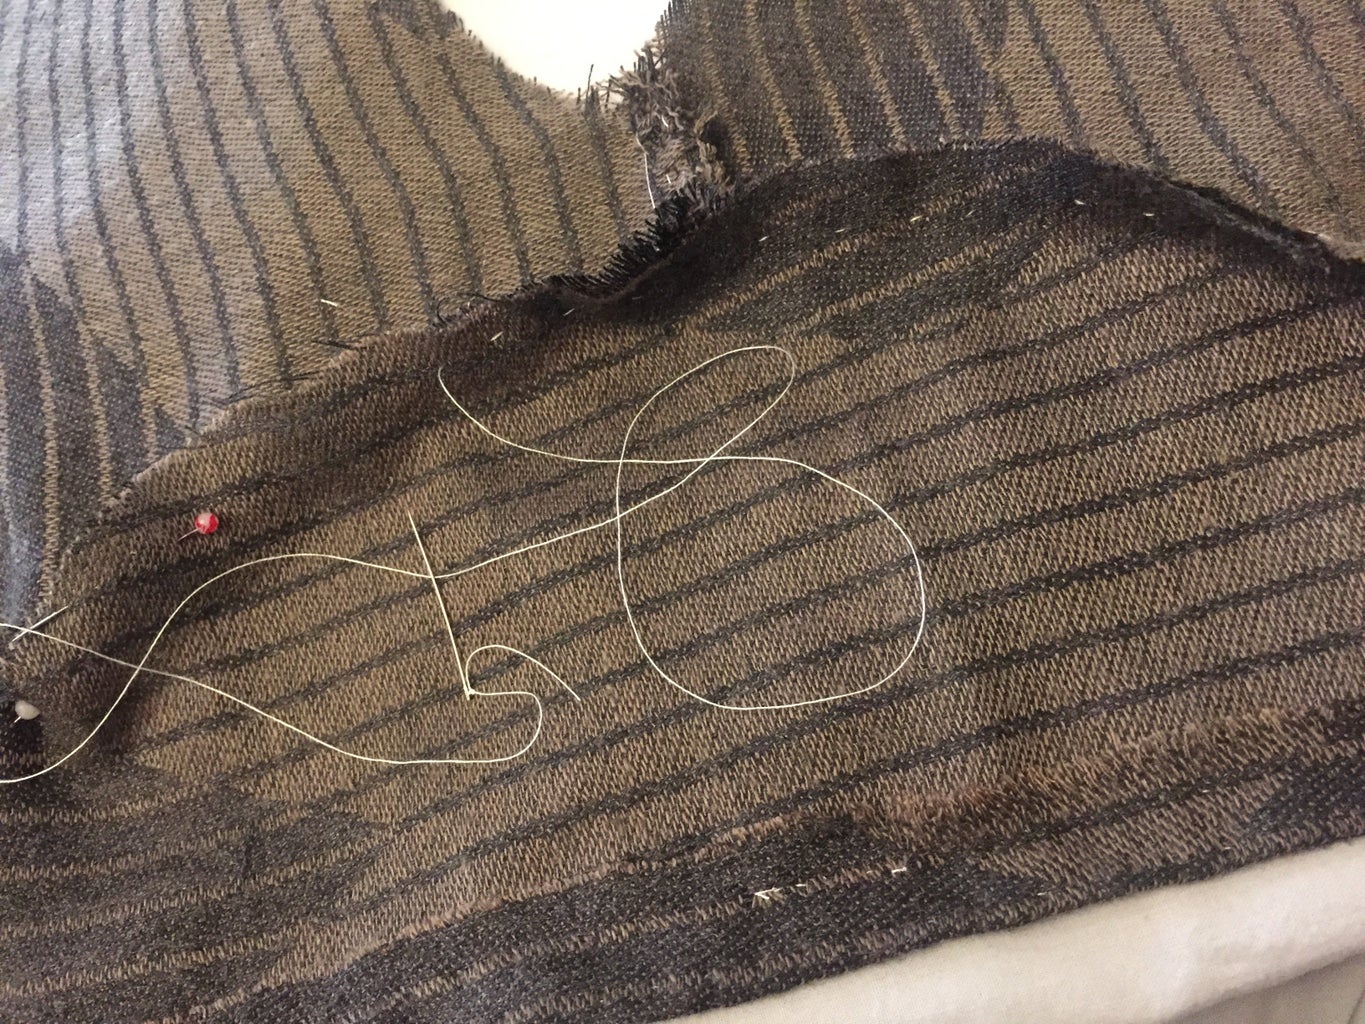
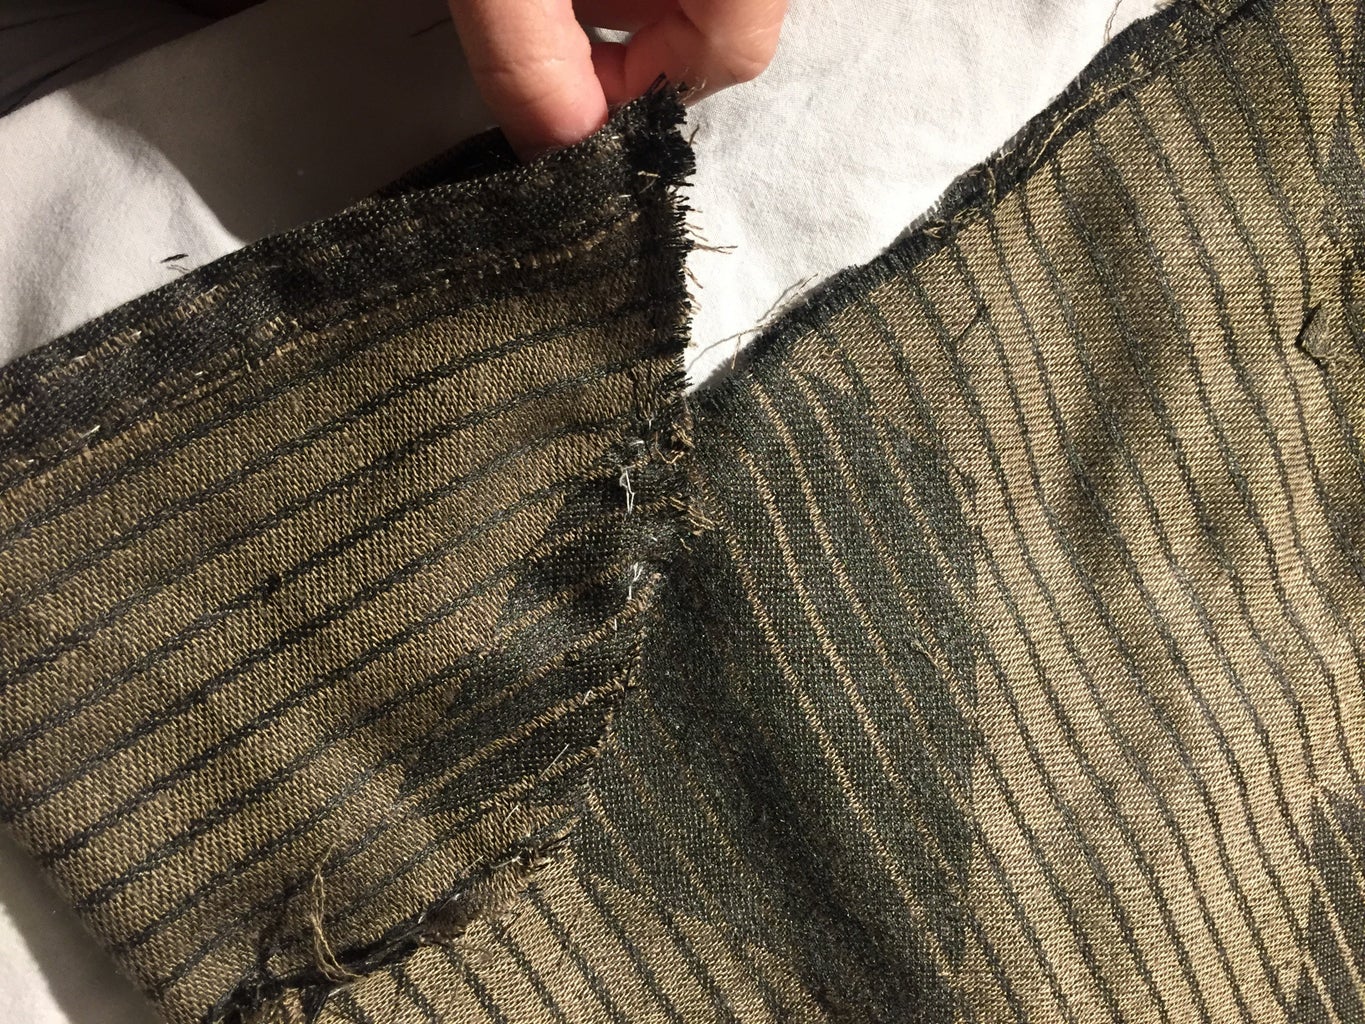
Step Six: Sewing the sleeves onto the shirt
After hemming both sleeves, the next reasonable step would be to stitch them onto the shirt. This is where those pins come in especially handy. It’s hard to hold the sleeve in place without the pins when you’re sewing. Again, I had to sew it multiple times for the stitches to hold strong. However, the ends remained slightly loose, but that was because the sides were left unstitched for now.
Step Seven: Hemming the bottom of the shirt
Just like the sleeves, the bottom of the shirt (front and back) needed to be hemmed. You could also do this step before stitching the sleeves; whatever you prefer. I did the same as with the sleeves except I only sewed one straight line instead of two.
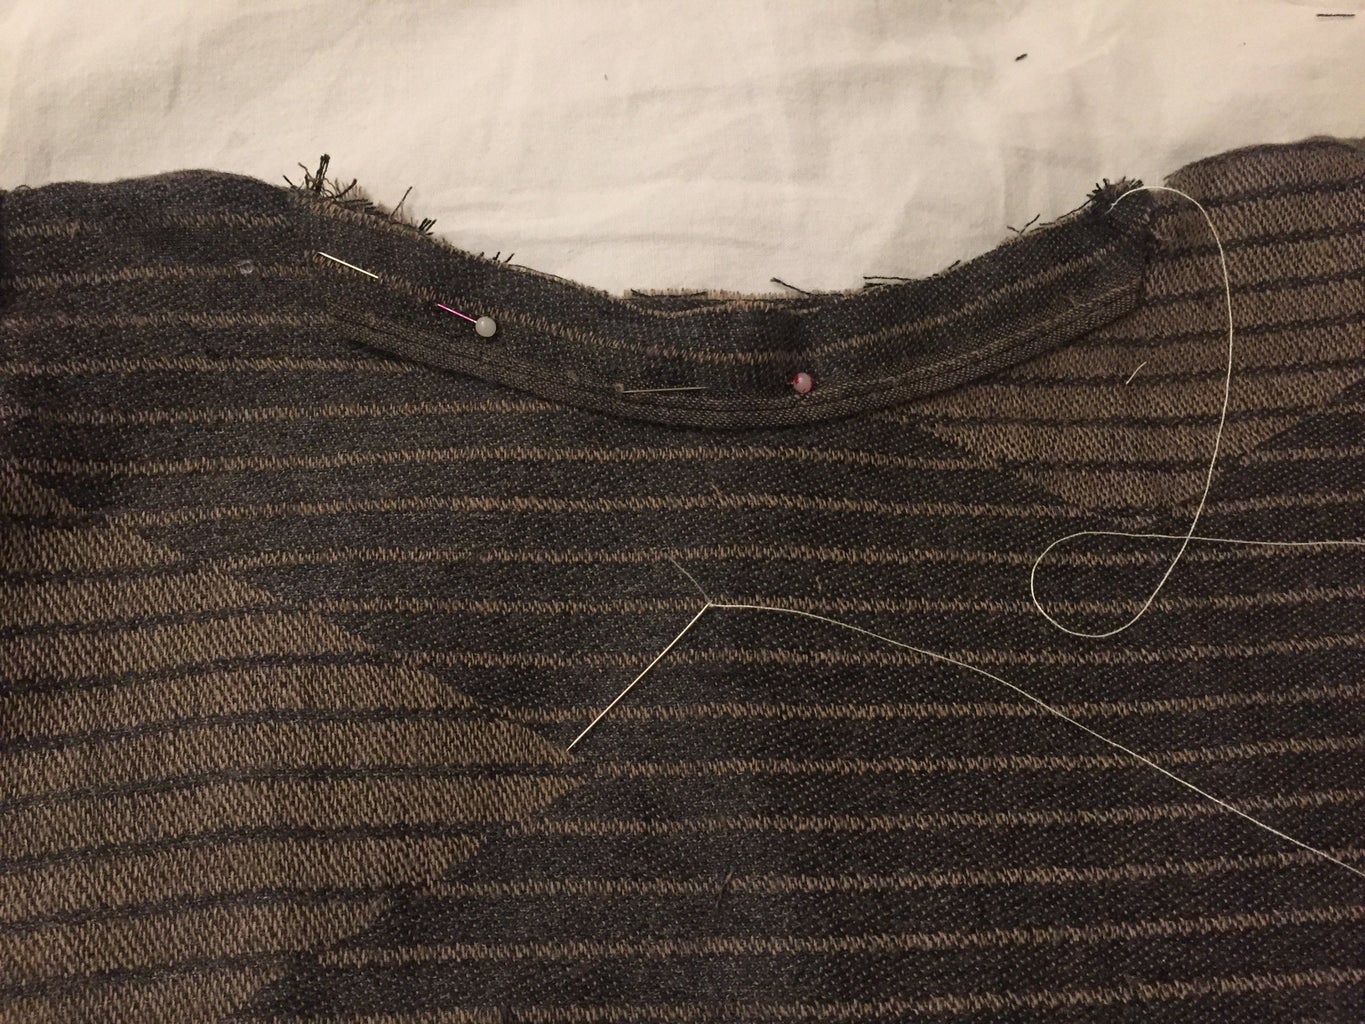
Step Eight: Fixing the neckline (Don’t Ask)
Don’t ask. Seriously, don’t ask. All I’ll say is this was definitely the most difficult part of creating the shirt. To put it simply (which it wasn’t), I took some of the leftover fabric and cut it out to fit the neckline. Then, with the help of pins, I secured it to the neckline from the outside. For the front, I sewed it from both the inside and outside, as I was unsure of how to do it. It looked terrible, so I cut out another piece (this one from the edge of the scarf, which had the seams visible on it), and sewed it from the outside this time. It finally looked decent. For the back, I only used one piece of the leftover fabric and sewed it from the outside. This was the only instance I went against the rule of sewing on the inside (shhh, don’t tell anyone, there may be some law against it).
Step Nine: Sewing up the sides
The last thing to sew are the sides. Unlike the title, I actually stitched down the sides, as I found that to be easier (especially since I had to stitch the sides of the sleeves first). Again, using the same seam. Furthermore, I used the same pinning method and stitched down the inner side of the shirt.
Step Ten: Final touches
If you’re still reading, congratulations because you made it to the last step!! Of course, I couldn’t just leave the shirt looking plain so I improvised to add some flair! I hot-glued the remains of a broken bracelet and an old crown like-thing I found (honestly, it came from my box of broken things, so I don’t know what to call it) onto the shirt. Needless to say, my little sister loved it! If you’re actually using these steps as a guide, then I encourage you to get creative using anything you can find at home (DIY and recycling are the best, periodt). You could also sew on a patch or pattern before sewing up the sides!!
And here’s the final result of my first attempt at creating a T-shirt from scratch:
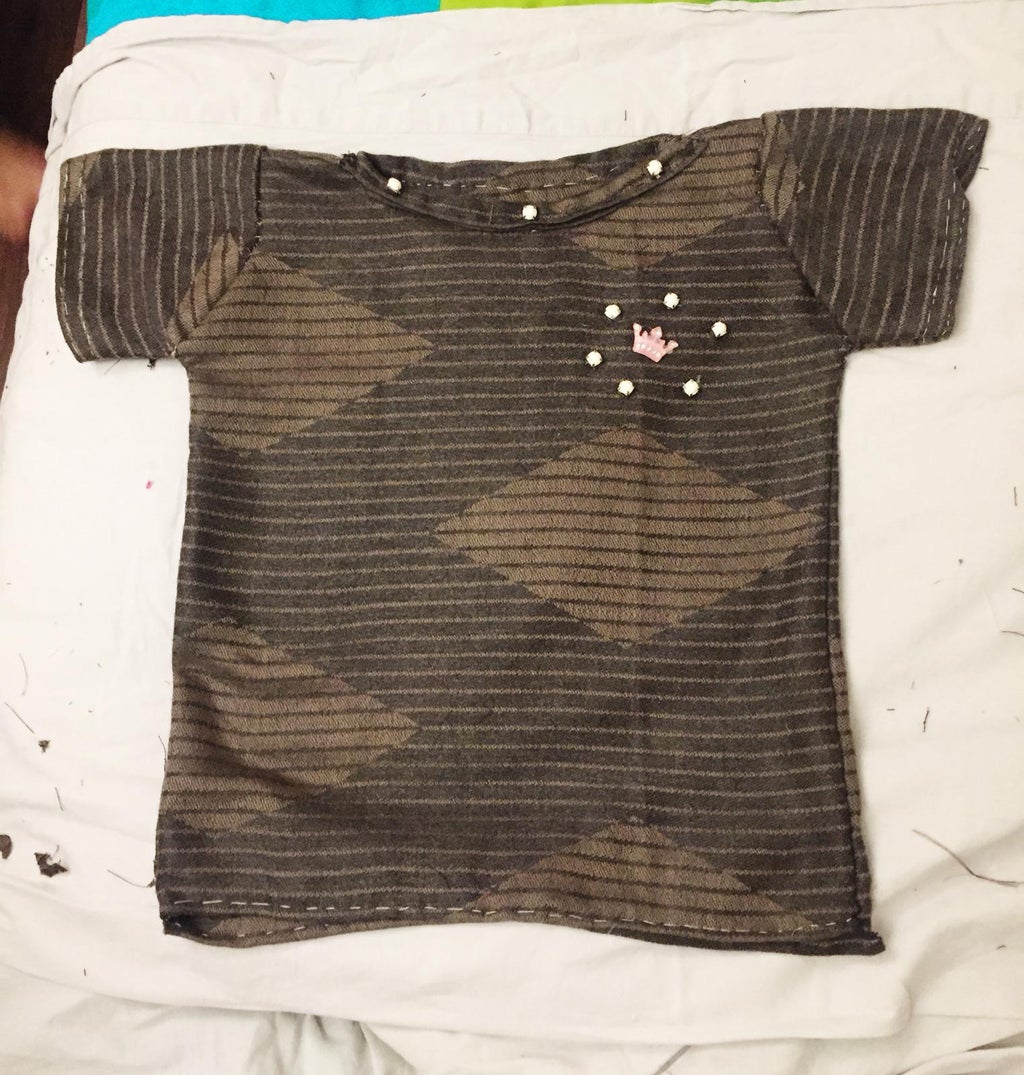
Surprisingly, my quarantine experiment proved successful! I can, in fact, sew a decent T-shirt from scratch. I did learn that the stitches would hold better if I had used a sewing machine (which I didn’t have), since they opened after my sister wore it for a day (at least we got pictures). But I found the whole process to be quite therapeutic, all two days of it. So, if you want to use my experiment as a guide, go ahead! I hope you find it as fun as I did. (Warning: side effects may include back pain and squinty eyes).