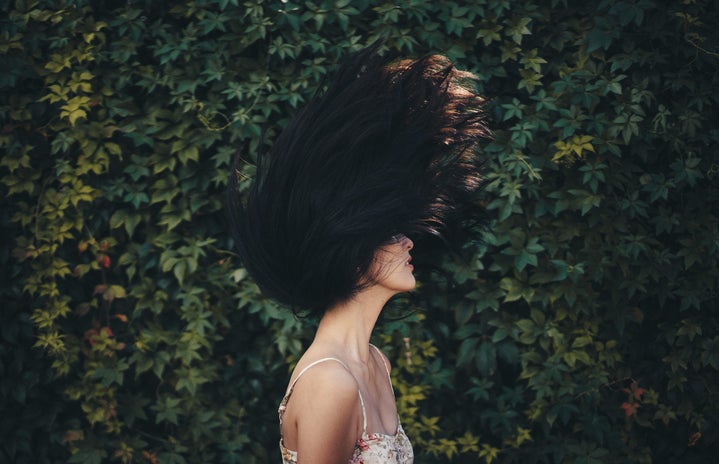
I am no stranger to cosmetology–I have been an avid fan of makeup and hair since I was first able to recognize the difference between a mascara wand and a lip gloss applicator. I’ve always been someone that prefers a do-it-yourself project when it comes to my hair (rather than paying someone an exorbitant amount of money to do what I can for so much cheaper).
I had red box-dyed hair for around 6 years. I know, Brad Mondo is QUAKING. However, in the 2018 Fall semester, I decided to go back to my natural color of a medium/dark brown.
And was super happy with the results for a long time… before I realized that I wanted to make a big change around finals week of this past spring semester.
While I will say this isn’t a tutorial, I will give you the rundown on how I was able to go from this: (picture 1) To this: (picture 2)
To start off, I needed to use a process known as foiling to get my hair to process faster. This is so I wouldn’t need to bleach it too many times.
My friend and I worked together to foil the ends of my hair before putting the lightening mixture on my roots. An important thing to remember if you are planning on processing your hair: Do not put the mixture on your roots first. The heat from your scalp makes it work faster, and you will end up with lighter roots than your ends. It is absolutely dreadful to fix. (Picture 3)
After the foils came the toner. Now, I used a toner that is designed to make the hair more of a cool tone or icy hue rather than a golden blonde. Here is what the hair looked like after 1 processing: (Picture 4)
Obviously, not that cute, but we’re being realistic here. You will never get to a light ash blonde with one process if your hair is dark. If you are planning on lightening your hair, it will take at least 2 rounds to get where you want to be.
I made the mistake of processing my hair twice in 48 hours, so not much changed when I processed my hair again that following day. (Picture 5)
I let that hair sit for a few weeks before I got bored and decided to do a fashion color.
A fashion color is any color other than your typical auburn, black, brown, or blonde. I decided I was going to go with pink and lo and behold, your girl used a box dye. Splat to be exact. Again, not the best choice, but your girl was on a budget at that time! Here is what the pink looked like in the beginning:
(Picture 6)
And below is what the pink looked like when it faded: (Picture 7)
As you can tell from these pictures, the pink didn’t go on evenly. That’s because I didn’t have an even blonde when I began with the fashion color process. If you want to have an even fashion color, you want an even blonde, and achieving an even tone is harder than you’d think.
I decided after a few weeks that I wasn’t a big fan of the pink anymore, and I wanted to go back to blonde.
Thanks to the internet, I found out that if you want to get rid of pink you want to use an ashy tone on the opposite side of the color wheel. The color I needed was green. So, I used one of my remaining ash-blonde toners over the pink, and it lifted quite a bit. (Picture 8)
I then realized that to get every last bit of pink out, and even out the blonde that was present before, I would need to process my hair for a third. time.
Now, you’re probably wondering why my hair didn’t fall out at this point, and if I’m being real, I have no clue myself. I’ll chalk it up to the fact that I made sure to utilize conditioning treatments and add ins to my mixture that ensured the chemicals didn’t fry my hair. I will have all of the products I used listed below for reference if you decide to go down my road.
When I processed my hair a third time, I tried to do a sort of balayage, or feathering technique, so my entire head of hair wouldn’t be processed heavily. I focused mainly on the ends of my hair, as they were the darkest, and then worked my way up with the dye brush. I finally put bleach on my roots and let that process for a while. It didn’t go exactly as planned, and I needed to process mainly my roots again.
After the fourth processing, I toned my hair with an ashy blonde toner and, finally, the results of all of this hoopla are below. I was (and still am) very happy with it! (Picture 2)
It was definitely a JOURNEY, but I am so happy with it now. The one piece of advice I have for you is that if you decide to lighten your hair to where I got mine, please make sure to not overuse purple toned shampoo for brassiness. It will turn your hair icy, and if you have the slightest bit of uneven tone in your length like I did, it will be more noticeable as the lighter pieces will turn a silver color.
I hope you all enjoyed learning about my trials and tribulations of lightening my hair. It was definitely a doozy, but I am so happy with how it turned out.
I plan on keeping this color for a while… Or, you know, until I get bored again and decide to change it up.
The products I used
-
Powder Lightener or hair bleach as it’s popularly known
-
30 volume developer (for the lightener) and 20 volume developer (for the toner)
-
Ion’s step 1 absolute perfection booster (it protects your hair from too much damage when you add it to your bleach and developer mixture)
-
Deep conditioner – Pro-tip: If you are on a budget, you can also leave your regular conditioner on for longer than the allotted time on the bottle, and it kind of does the same thing for the cheap.
-
A mixing bowl and a dye brush
-
GLOVES
-
Foils
-
Toner (I used the Wella T-18 as it’s the “lightest ash blonde” color)
Picture 1
Picture 2
Picture 3
Picture 4
Picture 5
Picture 6
Picture 7
Picture 8


