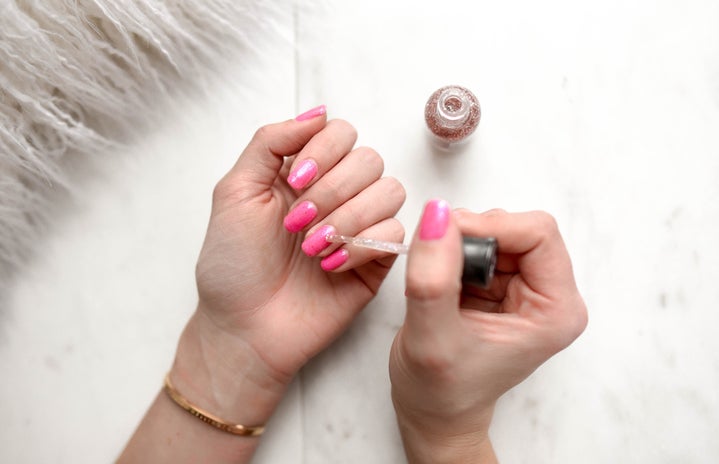
When my local nail salon such down because of COVID-19 restrictions, I found myself struggling to do my nails at home. Whenever I paint my nails with standard nail polish, it chips the same day. This is the system I’ve been using to give myself gel manicures at home for the past year and a half. I’m breaking it down for you into a step-by-step guide so you can learn all of my tips and tricks for the perfect manicure. I swear by it—I haven’t been back to a salon since!
Here is a list of products you will want to purchase:
- $17.69 UV Lamp (amazon.com)
- $19.99 20-pack gel nail polish kit (amazon.com)
- $13.99 Hard Gel (amazon.com)
- Nail files
- Sunscreen
- Put sunscreen on!
-
Those it isn’t extremely powerful, the UV lamp can be harmful to your skin. Before beginning your manicure, be sure to put sunscreen on your hands to protect them against harmful UV rays. I recommend this brand.
- File and shape your nails
-
Use a nail file to file and shape your nails to the shape and length that you desire. Some shape ideas are oval, almond, or square. You can look on Pinterest for pictures to use as inspiration. If you want to be extra fancy, you can also push down your cuticles using a cuticle stick. This is easier if you soak your fingertips in warm water for around 5 minutes beforehand to soften them!
- BUff the surface of your nails
-
You can do this with a proper nail buff or a regular nail file. Your goal is to just rub the shine off of the surface of your nails—removing the oil and debris. Less is more for this step. If you are using a nail file, be sure to be super gentle!
- CLEan your nails
-
Wipe down your nails with a cotton ball dipped in nail polish remover to remove any dust or debris or oils that may be on them.
- Apply a thin layer of your base coat
-
Start in the center of your nail, and then brush using careful strokes towards the edge. Once you’ve applied a layer that covers the entire surface of your nail, cure it under your UV light for 60 seconds. Be careful—you don’t want to get the gel on your fingers! To wipe away any gel that you accidentally get on your finger, simply use your fingernail to wipe it off.
- APPLY YOUR NAIL COLOR
-
I recommend applying two thin layers rather than one thick layer. You will have a much more even result if you do. The first layer might be streaky—that’s okay! It will be covered up with the second coat. Do your best to keep the gel on the surface of your nail, but if you can’t wipe up the excess with a fingernail BEFORE curing. Also—make sure to paint over the tip of your nail as well as over the surface to prevent the gel from curling up.
For each layer, cure under your UV light for 60 seconds before applying another coat.
- Apply a thin layer of your top coat
-
Like with the color gel, be sure to coat your nails completely—the surface and the tip! After applying, cure for 90 seconds.
Some gel top coats will be left with a tacky surface after curing. This is normal! Simply wipe off the top with a cotton ball dipped in your nail polish remover and you are good to go.
And that’s it! Some other tips:
- Complete one hand entirely before moving on to your second hand. I do not recommend going step by step for both hands, because it is really easy to smudge or mess up your nails that way!
- Be sure to wipe off excess nail polish that may be dripping from the brush on the inside of the bottle. The key to a good gel manicure is to apply thin layers, one after another, instead of one thick layer.
- Practice, practice, practice! The best way to get better about doing your nails yourself is repetition. It was not easy for me at first (I have never been an artist or had a steady hand!), but after over a year of practice, I can give myself a good manicure in less than 15 minutes.
Good luck!

