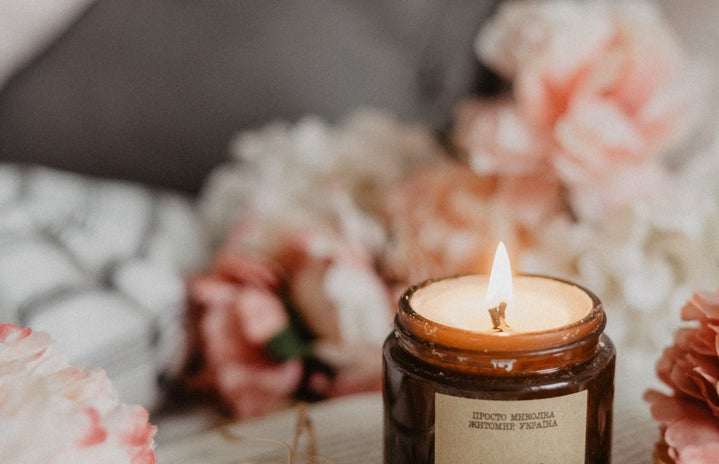
Christmas is right around the corner, and so are the gifts to be given. Whether it’s a last-minute gift or one you want to make special for your loved one, a personalized candle can be a unique route to making someone feel loved this holiday season!
Step 1: The Jar
The first step in personalizing your candle is to seek out a container that your gift receiver would enjoy. This can be a classic clear container, a coffee mug, a mason jar, etc. I personally used a clear glass container that I picked up at the local thrift shop. I recommend paying attention to the metal or glass in the container you chose to make sure that it is oven friendly. Google and/or YouTube is your friend for this! You can get creative by picking a groovy shaped or colored container. Pick out whatever makes you think the most of that loved one and it’ll add to the intentionality of the gift!
Step 2: Candle Wax
There are several ways to attain wax for your candle. You can research how to create your own from scratch, by using wax and candle oils, or you can go to your local craft store to find a nice smelling candle without a container. I went to Hobby Lobby and bought a vanilla-scented candle without a container. Then I shaved it down to a size that would fit my container. If you are doing a last-minute gift, this is much easier and efficient than creating your own wax.
Step 3: Candle Wick
I wanted my candle wick to be sturdy, so I bought candle wicks and then super glued one to the bottom center of my candle container. I replaced the store-bought candle’s wick with the one I bought by running it through the middle where the candle’s previous wick was. Even though this candle is primarily homemade, I think that it’s endearing to invest in little pieces of the process that will make the candle’s quality greater.
Step 4: Bake
Once I fit my wax candle to the container, I set my oven to two hundred degrees and lined a baking sheet with aluminum foil. I baked my candle for as long as it needed. Depending on the wax, it might be twenty minutes or an hour before it molds to your container. The aluminum is for any fallout wax. As for the wick, I would suggest wrapping it around a popsicle stick at the top of the container so that the wick doesn’t fall or melt into the candle wax. I recommend keeping a close eye on the progress of your candles and have patience.
Step 5: Let Sit
After the candle if fresh out of the oven, let it cool and sit. It might solidify into a unique shape, but personally, I think it adds character to the candle!
Step 6: Personalize
This is where you want to personalize the receiver’s name, favorite quote, astrological sign, etc. This is such a fun part because you can create something special just for that person that is unique to them! As for me, I made my candle unique by going to Office Depot and picking up water-resistant rectangular labels that I printed on.
I love this gift because it’s the gift that keeps on giving! You get to have fun making it, the process of baking the candle makes your house smell great, and the person receiving the candle has a custom made piece of your friendship. I hope this motivates you to become creative in new ways. Christmas is a wonderful time to practice the love of gift-giving!


