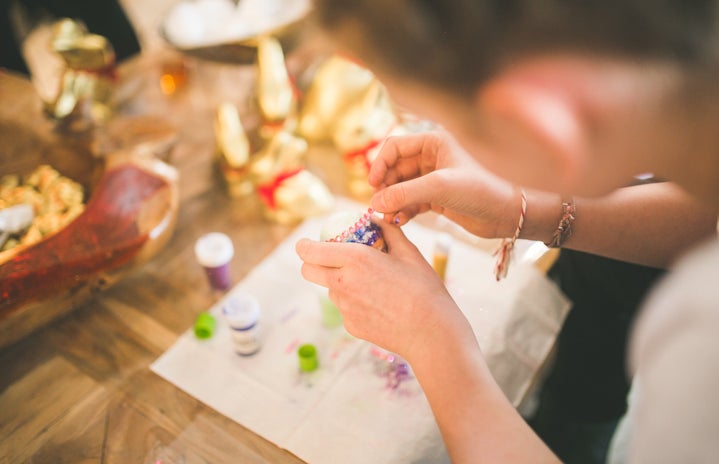
For college students, this week is just a normal week of classes. But, for the lucky few, there will be a special date on Saturday. Why? This Saturday just happens to be February 14. For those lucky few, they will be happy and in love. The rest of us will try to fill that void with other activities. We call it plenty of different names, such as Hallmark Day, Single Appreciate Day, Single Awareness Day and so on. Just in case you didn’t notice, the last two days equal S.A.D.
So this year I decided to fill it with fun. I made DIY Valentine’s Mugs with two of my friends. What they don’t know is the mugs they created with me will be filled with candy for them to enjoy. Here is to making sure this year’s Valentine’s Day, or whatever you call it, will be a crafty one. Cheers! (I just toasted a glass of wine with you. Hope you have some because crafts aren’t the same without it.)
I like to save money when I craft, so I took a trip to the local Good Will. It’s the best place to find craft ideas if you ever need any. I bought three mugs. They were only 49 cents each, which is less than what they are the dollar store. Next, I went to Walmart to pick up some Sharpies. They give you a variety of color and size options. I had to go with the 80’s Glam pack. Yes, I might have picked the pack just because of the name.
Supplies: (short list)
Mug(s)—white or cream mugs without matte finishes work best
Sharpies or Paint Pens
Painter’s Tape (optional)
Nail Polish Remover
Cotton balls
Cookie Sheet (optional)
Step 1: After you unpack all your supplies, wash your mug. You don’t want to have any dust or junk on the mug. You want a clean area for your masterpiece.
Step 2: Let your mug dry while you do step 3. I am a firm believer of doing multiple things at one time.
Step 3: Figure out what you want to draw on your mug. This might take some time. You can always use a computer for help. Inspirational quotes, mustaches, animals and letters are my favorite. My group of gals decided free hand was our style, so we didn’t use tape. Feel free to use it to make your personal design.
Step 4: Once you are finished, place your mug into the COLD oven. This is very important to make sure that your mug doesn’t crack. You can put the mug straight on the rack inside the oven or on top of a cookie sheet. I was nervous so I picked a cookie sheet. Once you have the mug in the oven, you can turn your oven on to 425 degrees. Let them bake for 30 to 40 minutes. It might smell a little strange, but it’s normal. Once the time is done, turn off the oven. Leave the mug in the oven while it cools. Again, this is an important step to make sure your mug doesn’t crack.
Step 5: Once the mug is dry, you are free to use it.
I recommend hand-wash only. Also, do not use a matte finish mug. The picture above shows a little smearing on the matte finish mug.
Enjoy your mug!


