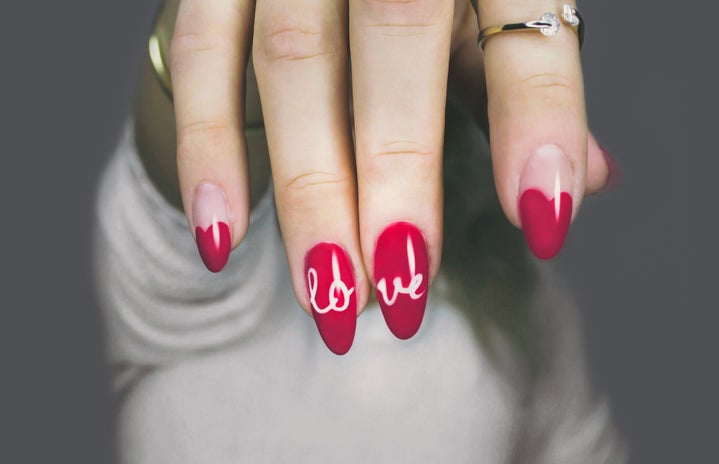
With springtime quickly approaching, we are all wanting cute nails! I have been doing my own nails for a few years now with the gel polish. I have the nail light and the polishes. I find it therapeutic to do my own nails and binge-watch my favorite Netflix or Hulu show (currently Little Fires Everywhere, and The Good Doctor)! Gel nails have a couple of perks. When done right, they last weeks without chipping, and they harden under the nail light like an acrylic nail, they really do last just as long as acrylics.
- Nail Shape
-
Step 1: File your nails to the length and shape you like. Some people find this part challenging, I am left-handed, so I am naturally a bit ambidextrous. Just remember to be patient with yourself when shaping your nails. I prefer squared or rounded nail shapes, so those are my two go-to shapes.
- Nail Prep
-
Step 2: Take your nail file or nail buffer if you have one, and file/buffer the entire nail surface. This is a critical step. By having your nail surface buffered, it makes it easier for the base coat to adhere to your nail, and it gives the best results.
- Foundation
-
Step 3: Do one layer of the base coat on each nail. I do this in multiple steps as the gel polish moves more on your nail than regular nail polish. I typically paint two nails at a time, cure them under the nail light and then move on to the next two nails until all my nails, on one hand, are done. ***I complete one hand 100% before I move onto the other hand.
- Gel Color
-
Step 4: Do one layer of the gel color you chose. Repeat step 3 by doing two nails at a time until the hand is complete. Then, for a more vibrant color, you can do a 2nd or 3rd coat of gel color. It is important not to make the layers too think, or they will not cure correctly. Once the hand is complete; I typically do 1 full min under the light to ensure a good gel cure.
- Top Coat
-
Step 5: Do one layer of gel top coat on each nail, just like steps 3 and 4. What is nice about the topcoat is that when you put your nail under the light, you can see if you have complete coverage over the nail. If you see thin spots, do a 2nd or 3rd coat of gel topcoat. ***Do not forget to put a layer of gel top\coat on the tips of your nails, this ensures a good seal. When the hand is complete, do 1 full min with all your fingers completely under the light.
- Clean
-
Step 6: Once you have complete steps 1-5 take a bleach wipe or makeup removing wipe/solution (I know that sounds weird), I typically use bleach wipes, and rub each nail. Make sure you put a decent amount of pressure on your nail when you do this. This step takes off the sticky residue that is left from the gel. If you do not do this step your nails will pick up fuzz and anything else you nails touch and it is super annoying and hard to clean. So, use a wipe and take the stickiness off.
- Repeat
-
Step 7: Repeat steps 1-6 for your other hand.
- Finish
-
Step 8: Wash your hands with warm water and normal hand soap, then dry. And voila! You’re DONE! ?
–>Pro Tip: DO NOT try to do gel nails while outside. The gel is cured with a UV/LED nail light, and the UV rays from the sun mess up the gel polish.<--
I have linked the products I use:
Gel Foundation and basecoat- Gelish brand found at Sally Beauty Supply. Topcoat, Foundation/Basecoat bundle
Gel color- I use the Gelish brand and other gel compliant brands. The brand of gel color hasn’t seemed to make a difference in results. I have a lot of Gelish brand colors, but I also have color changing gel polish by a different brand. I get my Gelish polish from Sally Beauty Supply, they have the rotating seasonal colors by Gelish, and if you don’t like a color after you’ve tried it, they have a really good return policy.
Nail light- The light I use I haven’t been able to find again, (I’ve had my nail light for about 6 years). The light I have is pretty simple, it has a 30 second and 1-minute timer and it is motion activated so when I put my hand in, it automatically turns on for the setting I choose. The CoastaCloud Light I have linked is the light I use, unfortunately, it is out of stock at the moment. But I am linking brands that friends of mine use and like! SunUV Light, Gelish Mini Light
I hope you feel inspired to try doing your own Gel polish manicure!
HCXO


