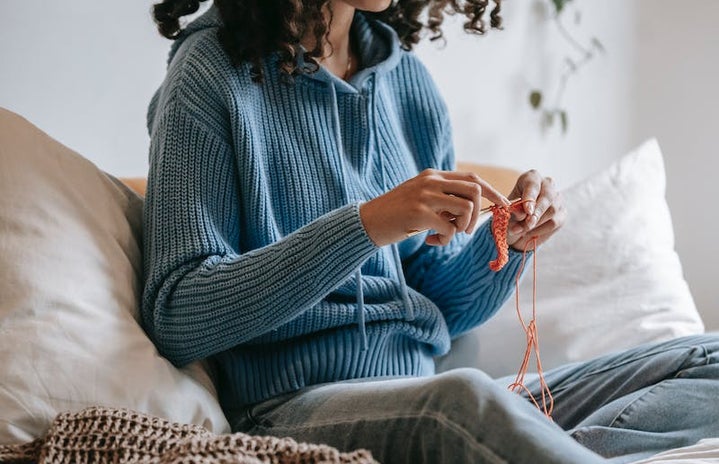
Take the plunge, don’t think twice, if you want to learn crochet or knitting, follow these steps and unleash your creativity
At first, let’s understand the difference between the two practices: Crochet produces a pattern similar to knitted or lace and a greater variety of threads can be used, allowing for a more versatile production of clothes, amigurumis, baskets, etc. In knitting, two needles are used, but without that hook! It is most used for wool items and tends to be more elastic.
- Don’t give up at first, it may seem complicated, but with time and practice, the results come.
- Start with basic and small projects, if you choose one that is too difficult it may discourage you
- Done is better than perfect! It’s normal for your stitches to not be perfect at first, but this will improve as you train.
- Choose the right materials for beginners to work with: the right needle and thread can make a big difference in the development of your project.
- Practice, practice, practice… Look for initial references that guide you in building a simple, standardized piece.
- Search! Don’t be lazy to discover every detail of the new techniques. Read blogs, watch tutorials, seek guidance that helps you in a didactic and simplified way.
Now, here are some patterns to guide you as you begin your journey:
In crochet:
– Chain
Step 1) Let’s start the chains by making a slip knot. To make the slip knot, you will hold the thread that comes from the ball and make a loop and pass the thread through it. If we pull the thread coming from the ball, the knot will adjust.
Step 2) We will insert the needle into the slip knot we just made and pull the thread to adjust it on the needle.
Step 3) Let’s start our chains.
Step 4) You must hold the thread, passing under the index finger and over the other three fingers. The thread on the opposite side of the ball (shorter side) should be held with your thumb.
Step 5) You will turn your finger so you can work with the thread that comes from the ball.
Step 6) Position the needle with the point to the side and pass the needle under the thread, “fishing” the thread with the needle hook. Next, you will bring the line you just “fished” and pass it through the strap.
The first crochet chain is made.
Single crochet
Step 1) To make the single crochets, you will need a base. The base here in this example will be made of chains. So, in this sample, you will make 12 chains.
Step 2) Next, you will position your hand correctly, holding the thread and leaving the chains in front.
Step 3) You will insert the needle into the second base chain you made previously and pull the thread through the chain.
Step 4) You now have two loops on your hook.
Step 5) You will fish the line again and pass it through these two handles. And the first double crochet is done.
Step 6) You will repeat the process described in Steps 3 and 4 for each of the chains. In the end, you will have 11 single crochets.
In knitting:
Before making any stitch, a mesh must be set and to do this follow the steps:
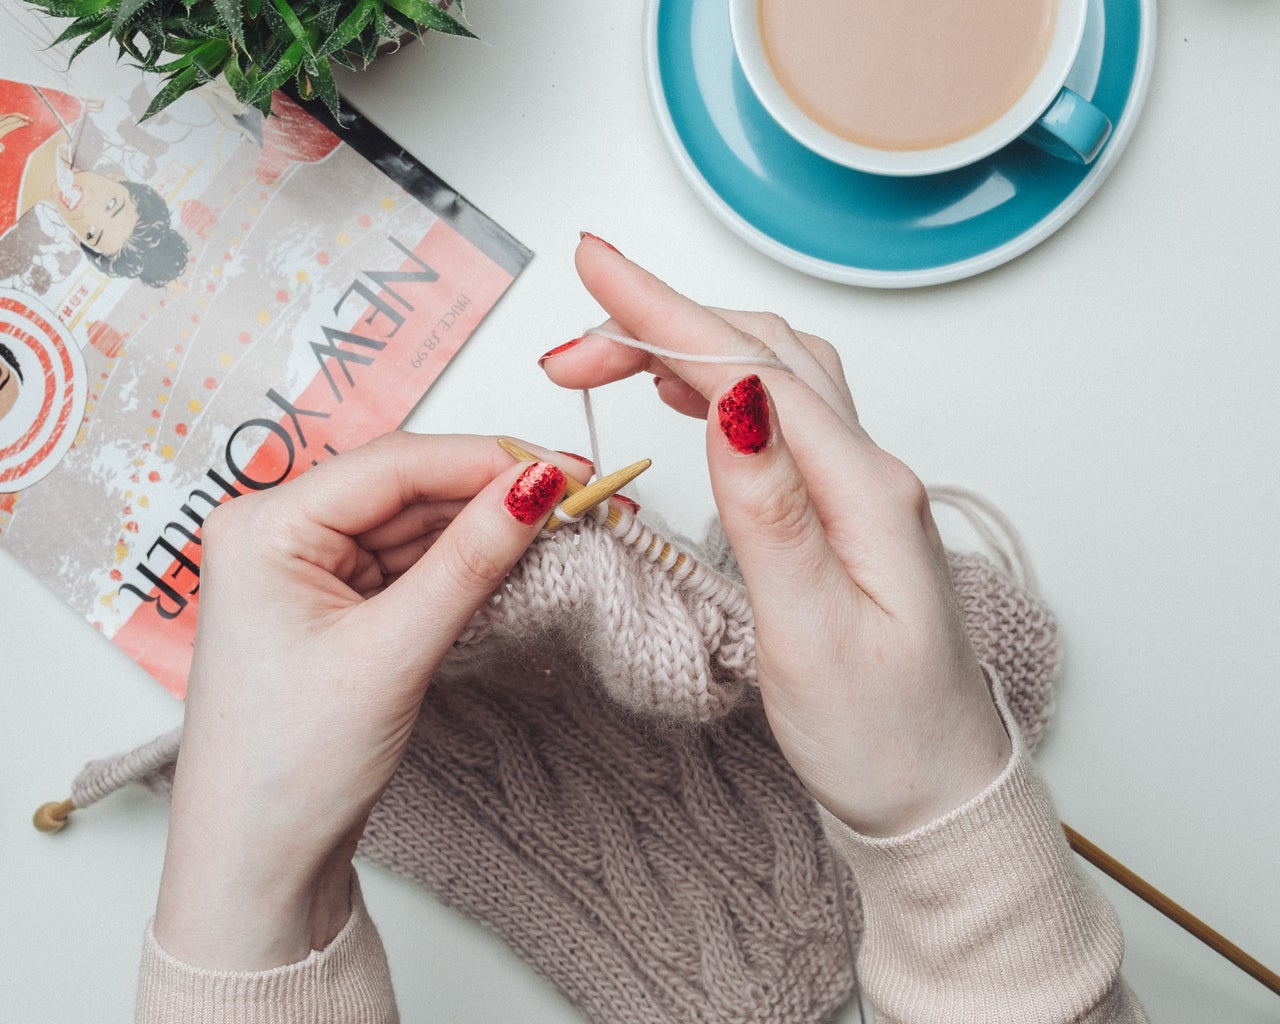
Step 1) Start by measuring the length of yarn needed to cast on from the end of the ball (the length varies depending on the number of stitches you want to cast on, the yarn and the size of the needles). Hold the end of the yarn with your thumb and wrap it around your index and middle fingers.
Step 2) Pull the thread through the loop that formed around your index finger and your middle finger from back to front, towards you.
Step 3) Pull the hoop to form an elongated mesh.
Step 4) Place the stitch on the knitting needle and pull the ends to tighten the stitch. You are now ready to assemble meshes.
Step 5) Place the end of the thread around your left thumb as seen in the photo. Slip the strand over your left index finger and hold the two strands in place in the palm of your hand using your ring finger and little finger.
Step 6) Pass the tip of the right needle under the thread that starts from your thumb.
Step 7) To create a mesh, use the tip of the right needle and pass the yarn (the one that starts from your index finger) through the ring created by your thumb.
Step 8) Slide your thumb loop onto the right needle. Set up a new mesh. Pull the mesh and pick up the thread again with your thumb. Continue in this same way until all stitches are cast on.
Now learn a pattern with two basic stitches:
Stocking stitch and knit stitch are the only ones used when knitting any piece. Looking at a knit stitch inside out, you can see the stockinette stitch. It is the flat stitch, while the knit stitch is more prominent. A combination of these two stitches, knitted following a certain pattern, is what makes the pieces different from each other.
Step 1) Assemble the mesh with as many points as you want.
Step 2) Hold the needle with the stitch pattern in your left hand and the empty needle in your right.
Step 3) Push the tip of the right needle down. Pull it through the first stitch on the left needle so that it crosses it at the front.
Step 4) Position the wool in front of the needles. Hold the first stitch on the left needle with your thumb and forefinger.
Step 5) Hold the wool firmly. Wrap it around the needle
right, clockwise, from front to back.
Step 6) Gently pull the tip of the right needle through the first loop, taking the wool with it. Slowly pull the right needle towards the back. Don’t pull too hard, or you’ll take the needle with it.
Step 7) Carefully remove the old loop from the left needle.
Step 8) Check your first knit stitch on the right needle.
Step 9) Do the same with all stitches in the mesh to produce a row of knit stitches.
Step 10) Do the second row and all the following ones in the same way and watch your knitted fabric begin to emerge. If you use the knit stitch on the entire piece, you will be making knitting strings. But that is a topic for another article.
Now that you have an idea of the steps to follow, unleash your imagination and get to work!
————————–
The article above was edited by Fernanda Miki Tsukase.
Liked this type of content? Check Her Campus Cásper Líbero for more!


