We’ve all heard of the no-makeup makeup look, right? It’s a makeup look to enhance your natural features without looking like you’re even wearing makeup. As a full-time student, I have stress breakouts, no time for touch-ups, and limited money. With the amount of sleep I need and the time I need to be at class by, I have about 10 minutes to go from zombie to… anything else, really. I’ve made a list of my favorite makeup products on a budget to boost your confidence and your eyelashes. My go-to inspiration is Alicia Keys as she masters the naked face on the daily.
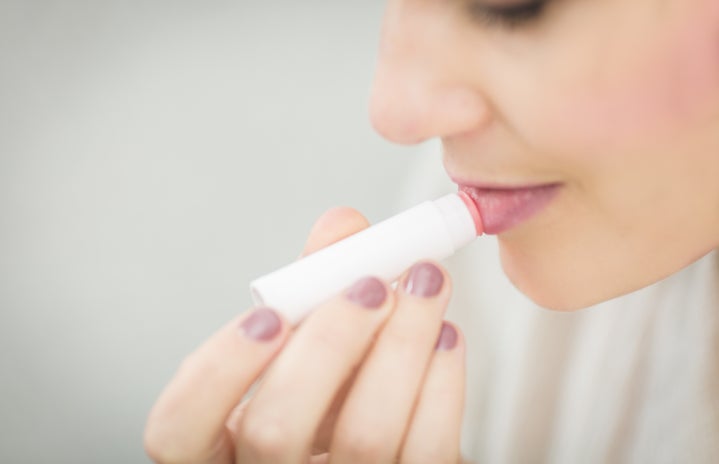
Before we get started, my number one tip is to take care of your skin. Find a skincare routine that works for your skin type. Feed your body what it needs because your skin reflects from the inside out. Drink lots of water!
Now that your skin is in a healthy state, onto the makeup!
1. Primer
Assuming you already moisturized (lip balm, too), it’s prime time. When my skin is feeling dehydrated or dull, I love the NYX Hydra Touch Primer. This product feels just like water settling into my skin, leaving a smooth and hydrated base for my concealer. This primer keeps the makeup from caking and never leaves a greasy film.
2. Concealer
I give the primer about 30 seconds to settle in and move on to concealing those blemishes. The Garnier Skin Renew Anti-Dark Circle Eye Roller is a sheer concealer in the form of a roller ball. The metal ball gives a cooling effect to grant us an extra hour of shut-eye. This concealer has a thin and runny consistency to melt into the skin yet still covers the darkness under the eye. When I have new acne or prominent acne scars, the Maybelline Fit Me concealer covers the redness. The trick here is to find your perfect shade and blend out the edges around the blemish. This allows the product to look like your real skin.
3. Powder
Once the base is on, it’s a must for me to set the concealer. I have oily-combo skin, meaning the center of my face is oily while the rest of my face is normal; I even get dry patches at times. I use the Neutrogena Shine Control pressed powder to lightly dust my t-zone and the areas I concealed. Don’t forget the under-eye! Powdering the whole face will also prep for the other powders – blush and bronzer.
4. Bronzer
My favorite bronzer is the NYC Smooth Skin Bronzing Face Powder because it’s easy to blend and the color pairs well with my undertones. Bronzers can look muddy if too much is applied or if it’s the wrong shade. I suggest finding a bronzer with a warmer undertone to add dimension and color rather than a shadow like contouring. Bronzer can be placed anywhere and everywhere on the face. I place mine in the hollows of my cheeks, around my whole forehead, under the jawline, and all over the nose. This will give the face a sun-kissed effect.
5. Blush
As blush, I use the e.l.f Powder Blush Palette. This quad comes with four different blush shades, some satin and some shimmery. I like these blushes because they are pigmented and versatile to my mood that day. I will add blush to the apples of my cheeks, not going in farther than the middle of my eye, and blending up and back into the hairline. Blush gives an instant awakening affect and even brings out the eyes.
6. Highlighter
This step is only if I have an extra 30 seconds. I quickly grab a fan brush and my Physician’s Formula Shimmer Strip highlighter. This highlighter contains a wide variety of bronze and pink colors to work with numerous skin colors. I dust this on the tops of my cheeks and blend it into my brow bone and sides of my forehead. I’ll even give a quick tap to the ball of my nose to pull the look together. Highlighter adds an extra glow to the places that have a natural glow; it will hit the light and your inner goddess shines through.
7. Brows
Filling in the brows will give the face shape and enhance the eyes. I will use any ol’ brown eyeshadow to fill in the arch and tail of my brow for a more uniform look. I use an angled eyeliner brush to create crisp lines and a spooly to blend the color into my brow hairs.
8. Mascara
Finally, mascara! My favorite mascara for natural lashes is the Maybelline Mega Plush. This mascara has a flimsy wand to lightly coat the lashes with color while lengthening them. This mascara opens the eyes by keeping the lashes curled. My lashes go from blonde to a subtle black. My lashes never feel crispy or clumped with this mascara.
Whether you’re in a rush to work, woke up late, or simply don’t want to spend all day on your makeup, these wallet-friendly products make it easy to get ready. Feel free to swap out steps or items with what works for you. It’s important to stay confident and know that looks shouldn’t be judged the same as the heart. Chin up; you look great!


